Custom bunk beds, how to build a sleep and rest area from scratch
 Share
Share
 Share
Share
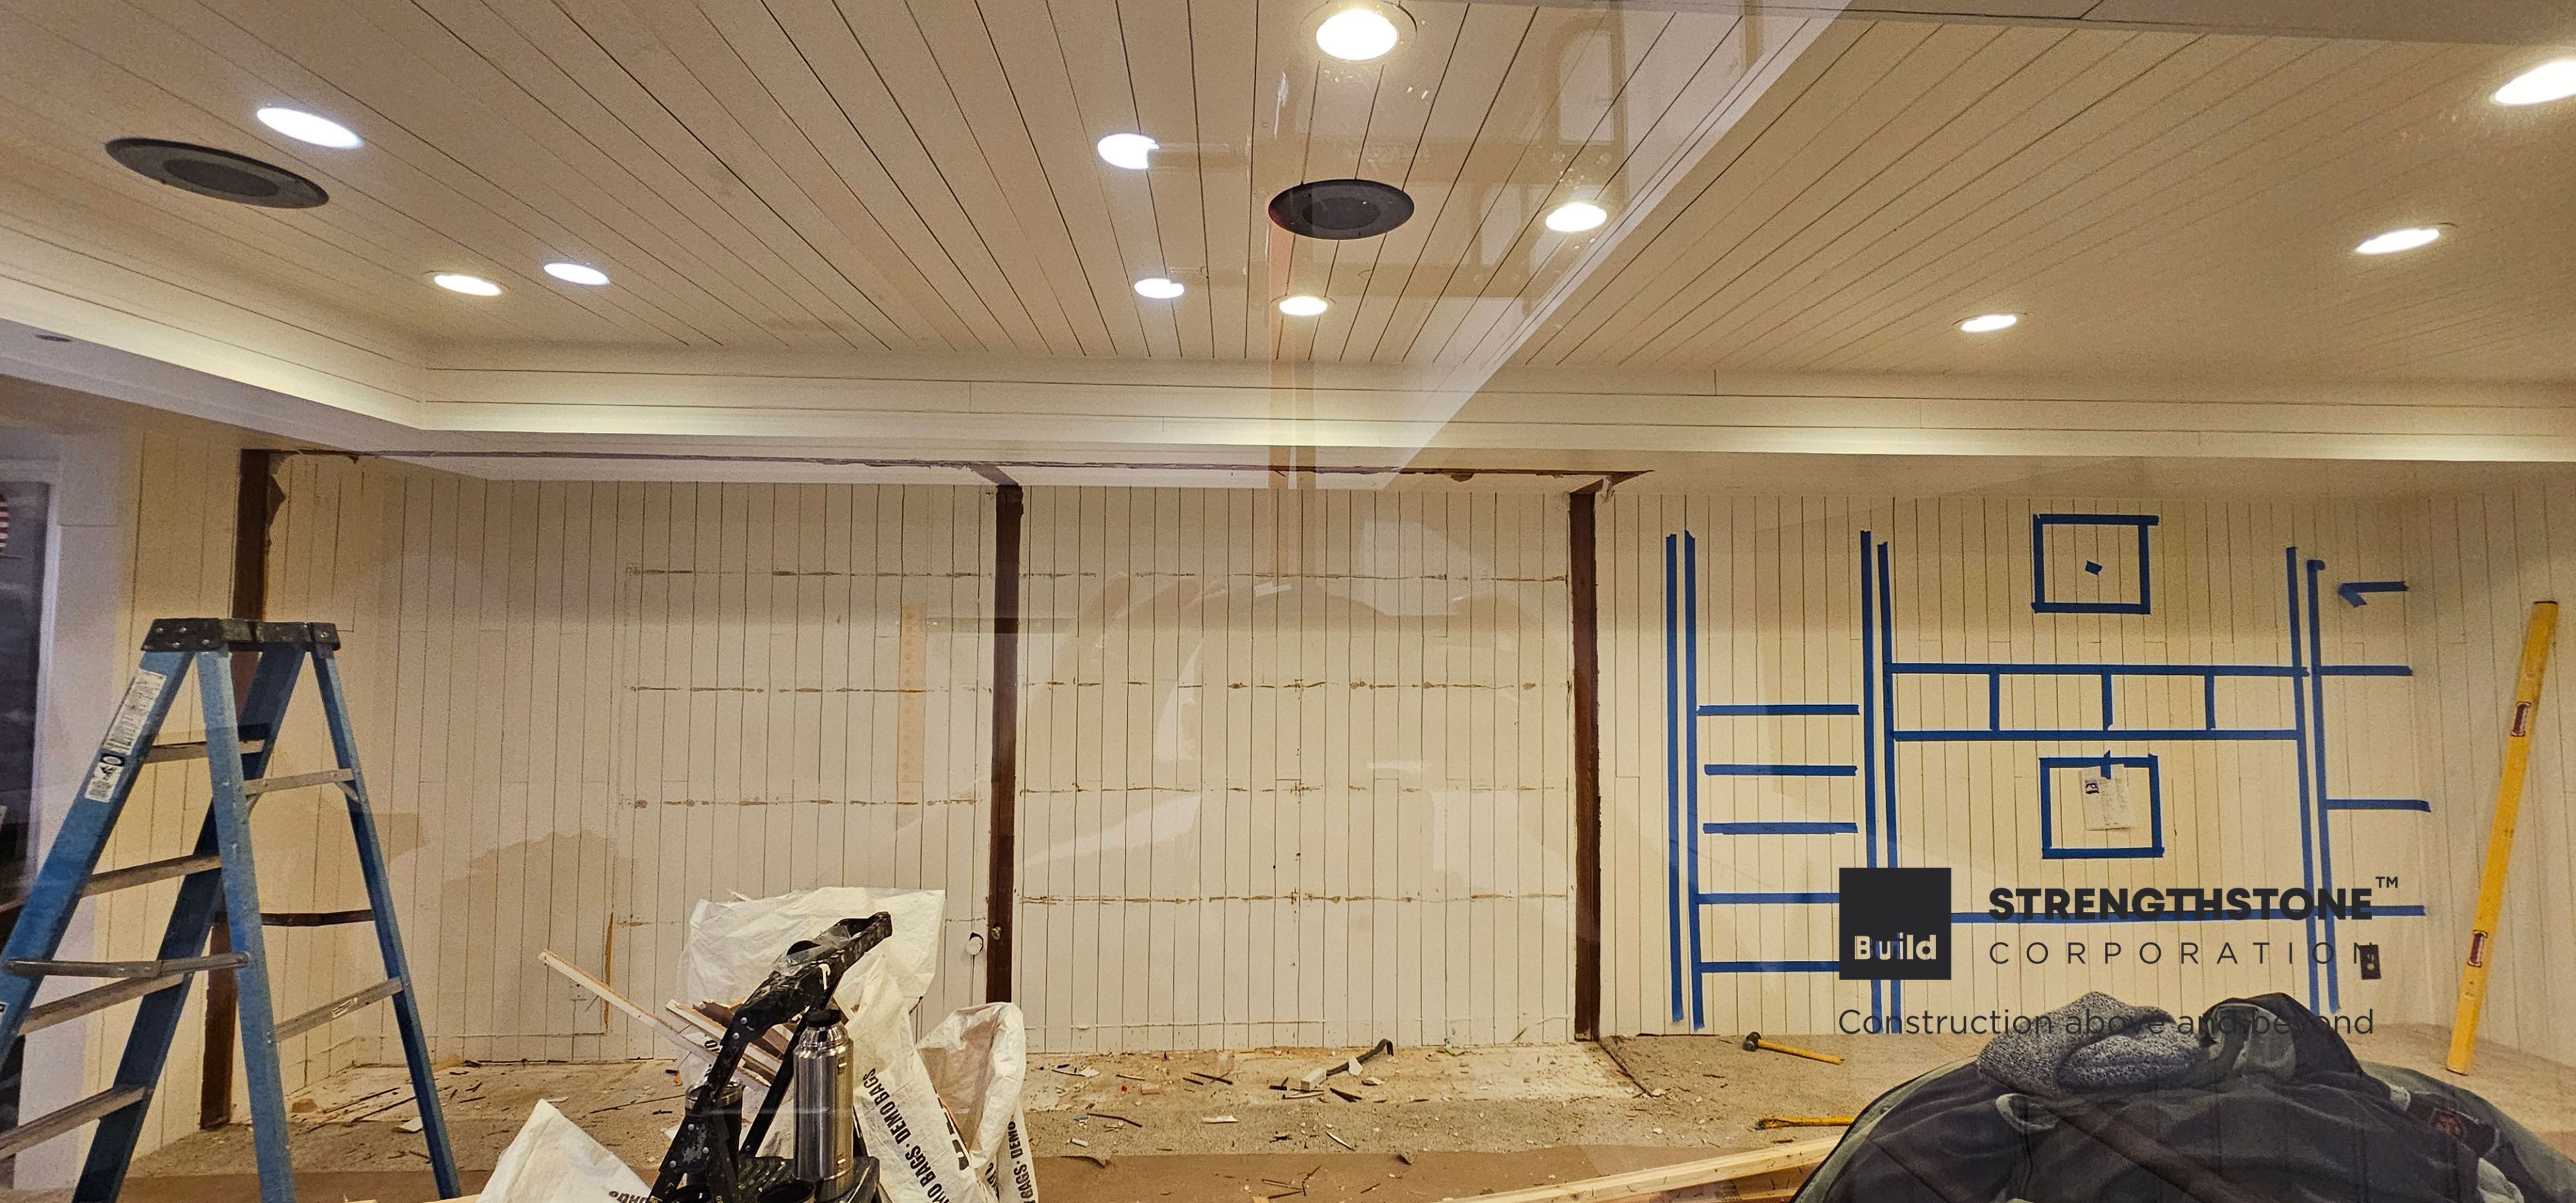
This article will help both homeowners and contractors to be inspired and build a similar or even better custom bunk beds, rest and sleep area project. We've started from scratch. Pictures of the process will help us to define the before and after, will share the scope of the work and all the results till it's done. Thank you for reading, sharing if you find it valuable and even sending us your thoughts and insights into the Strengthstone Inc. team. Before we started, this is the room space, stuff and one big idea behind. Let's do it.
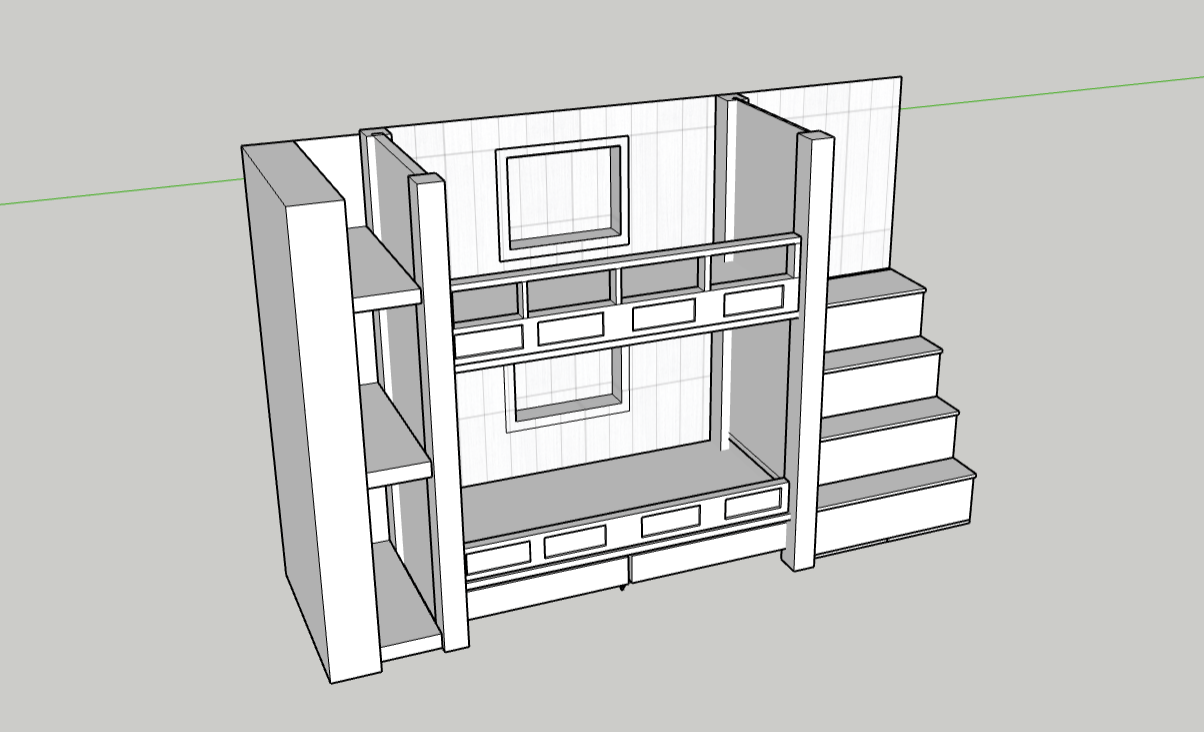
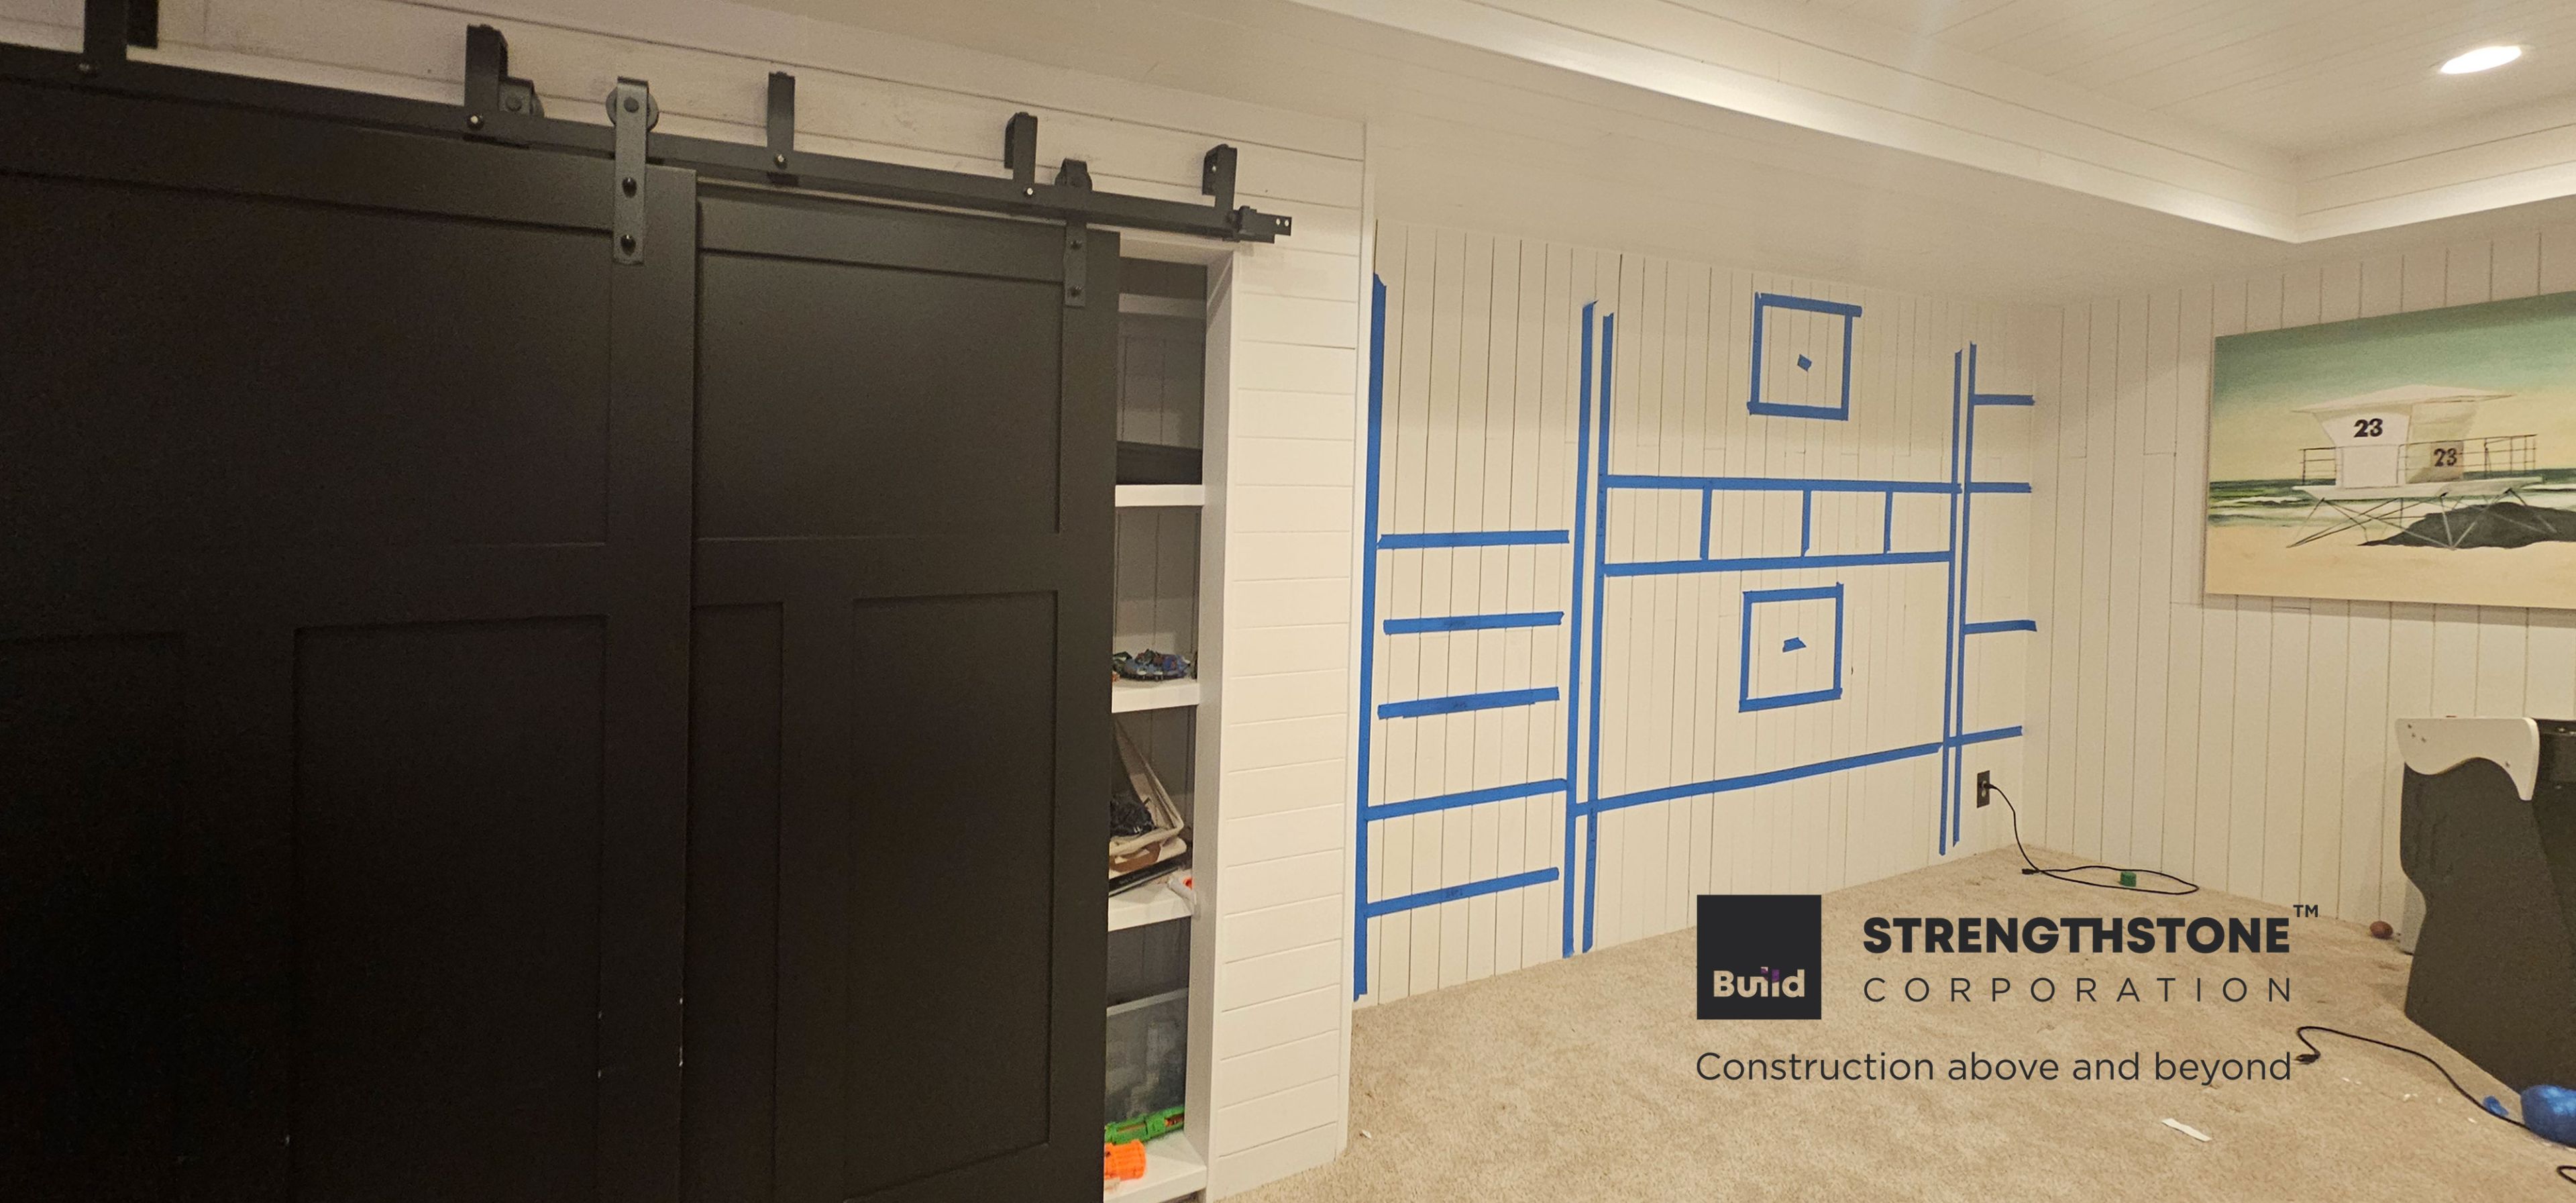
Here is the sketch up for the project, as the main idea to build. Remember we are building a custom bunkbed area with 6 sleeps. Sounds like fun. Area and layouts, tape and laser. Yes, forgot to remind you we do have 30 days to build it.
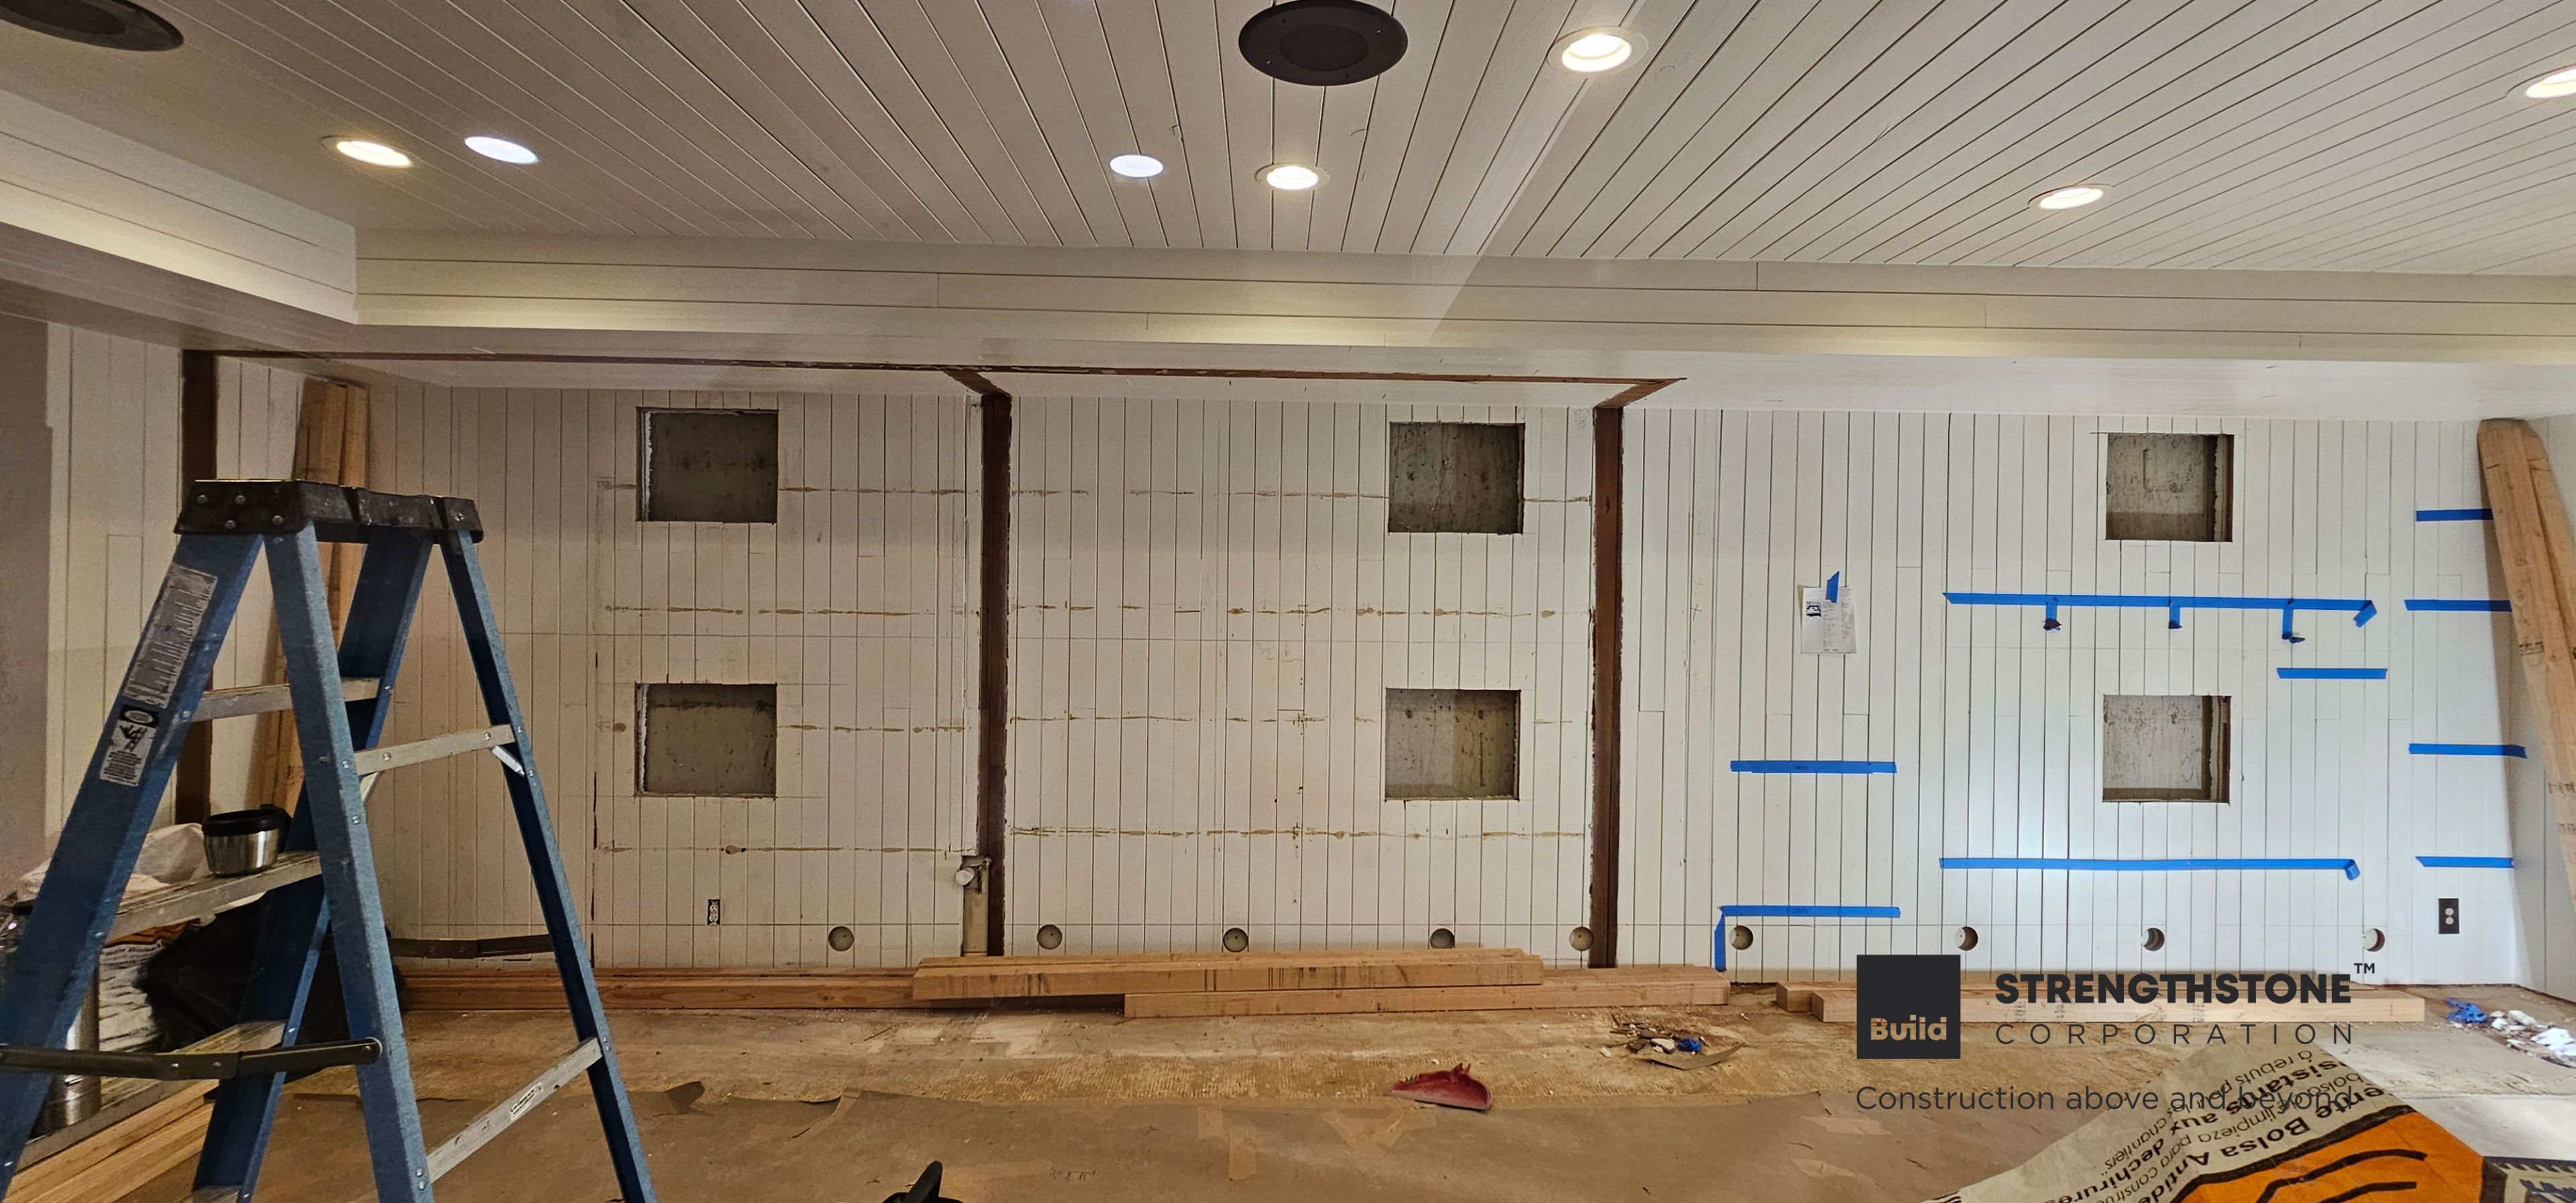
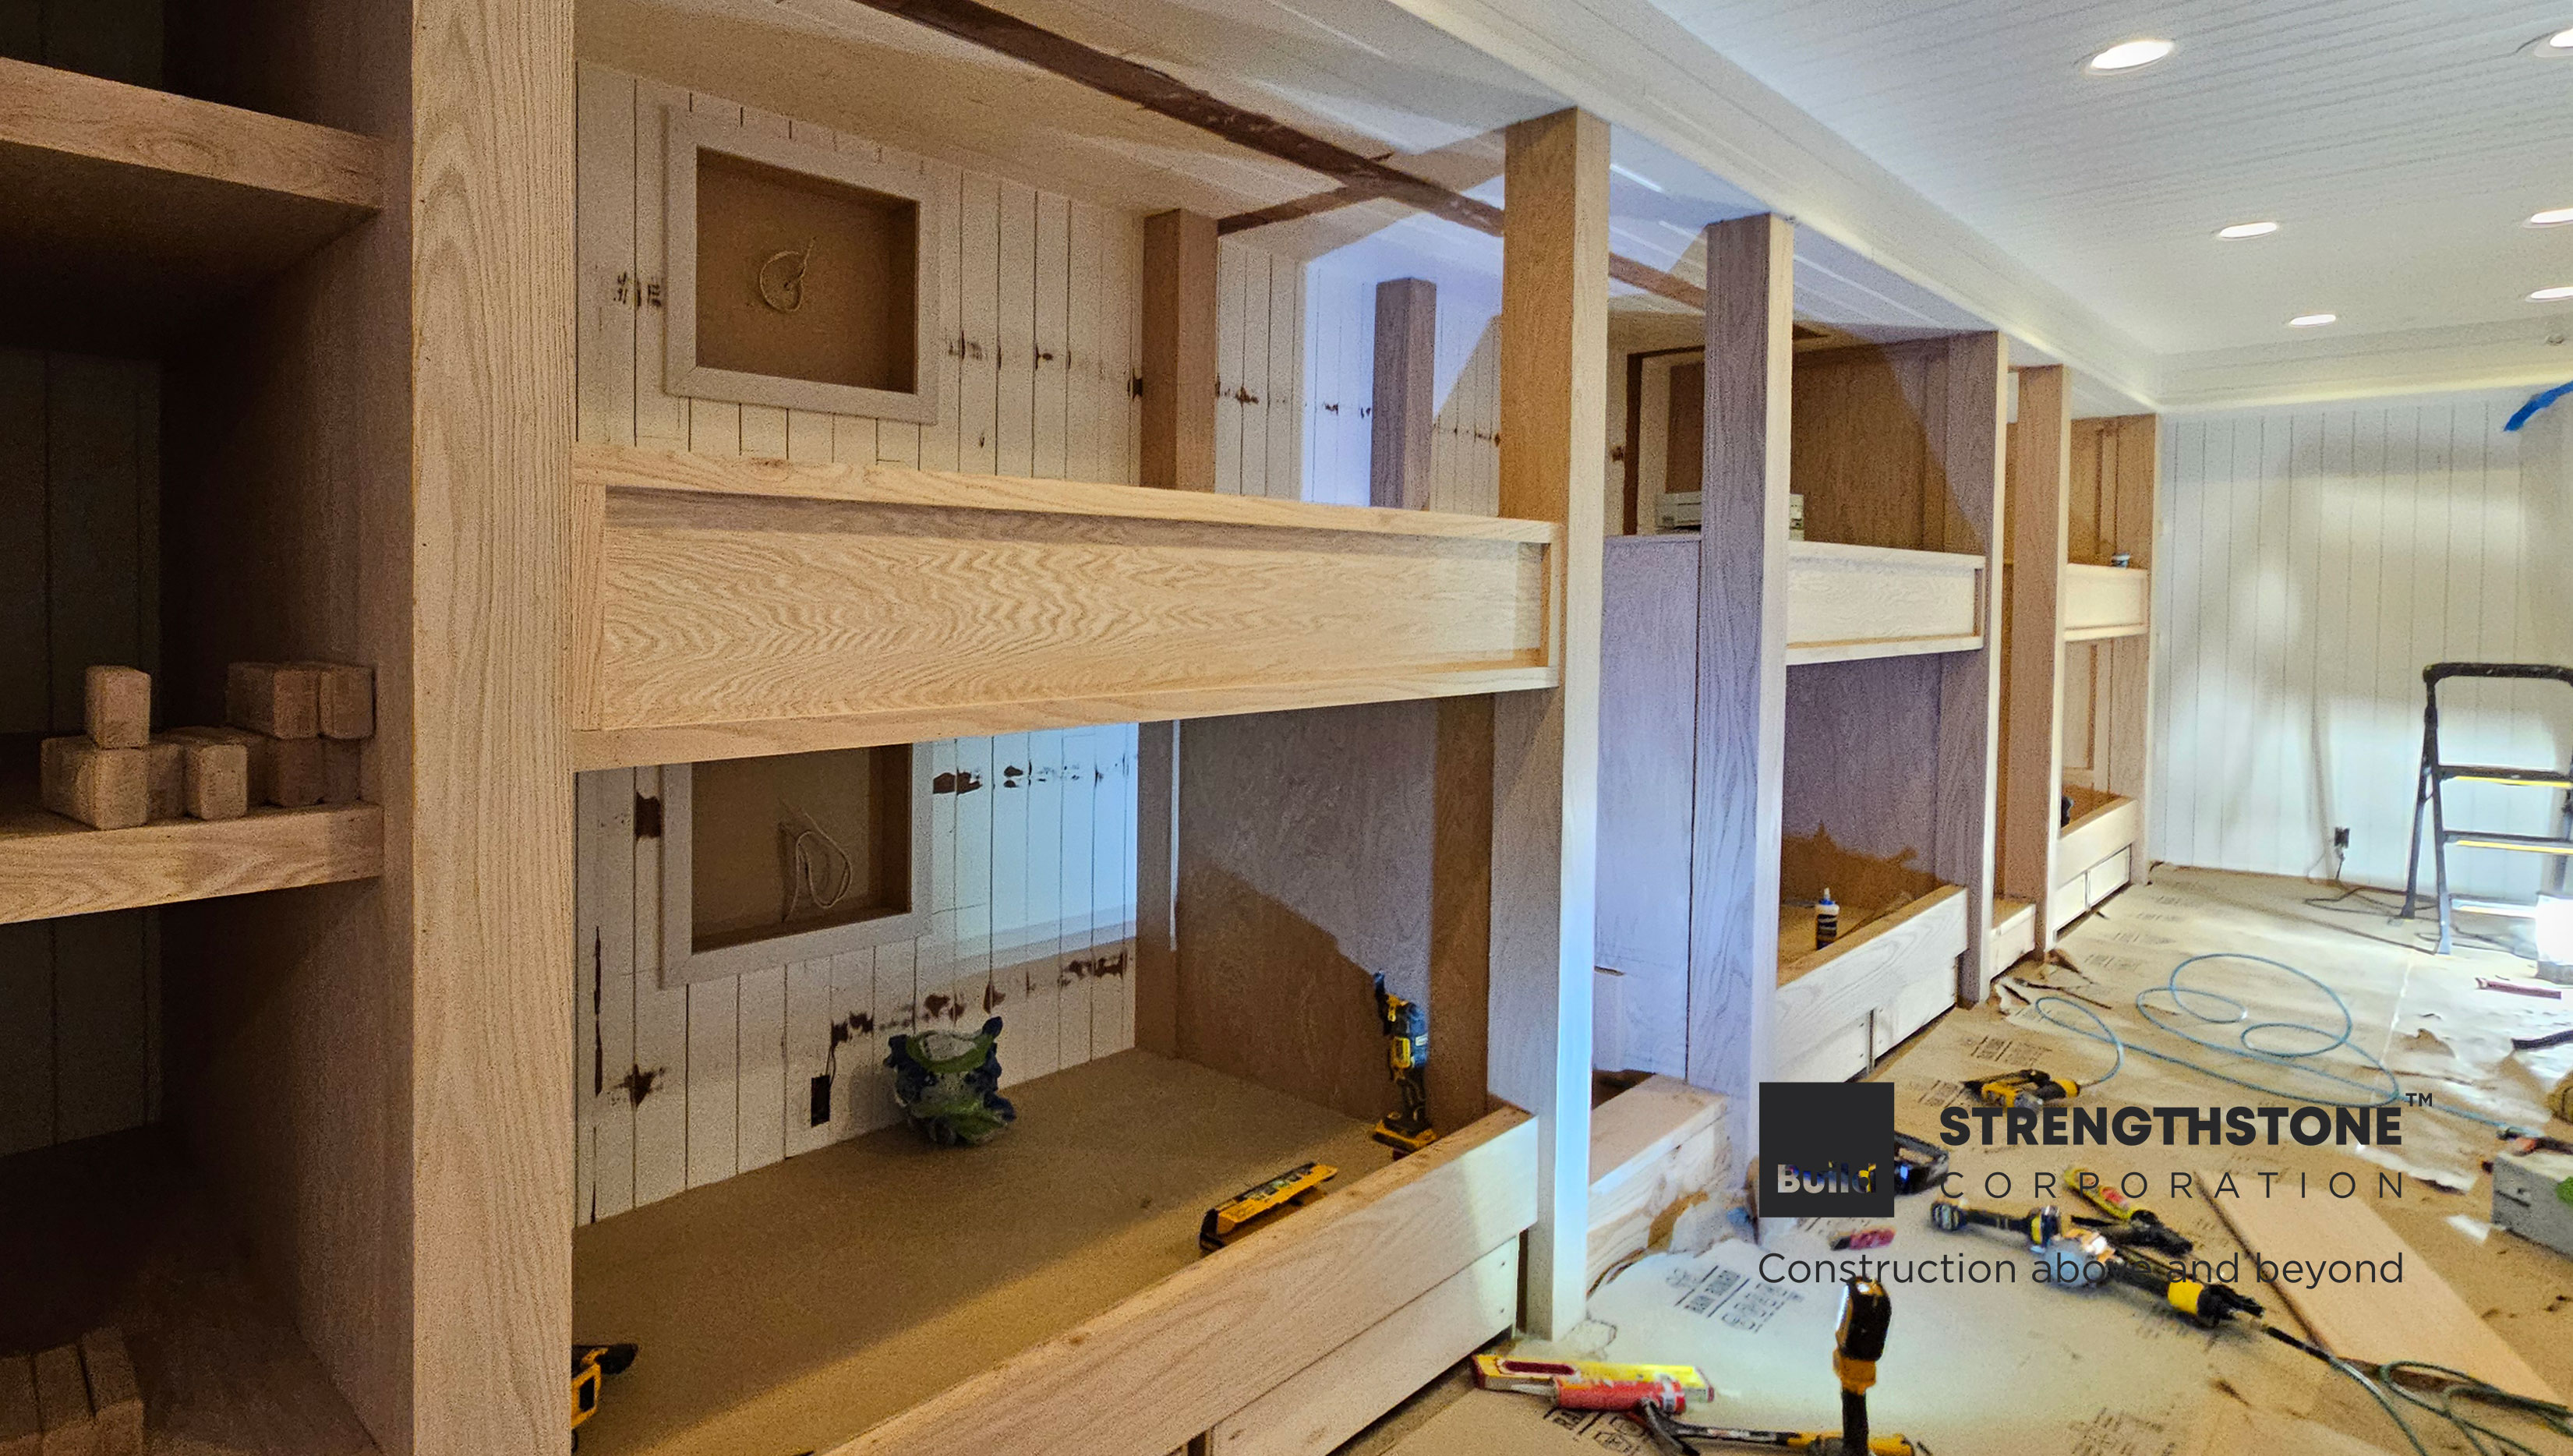
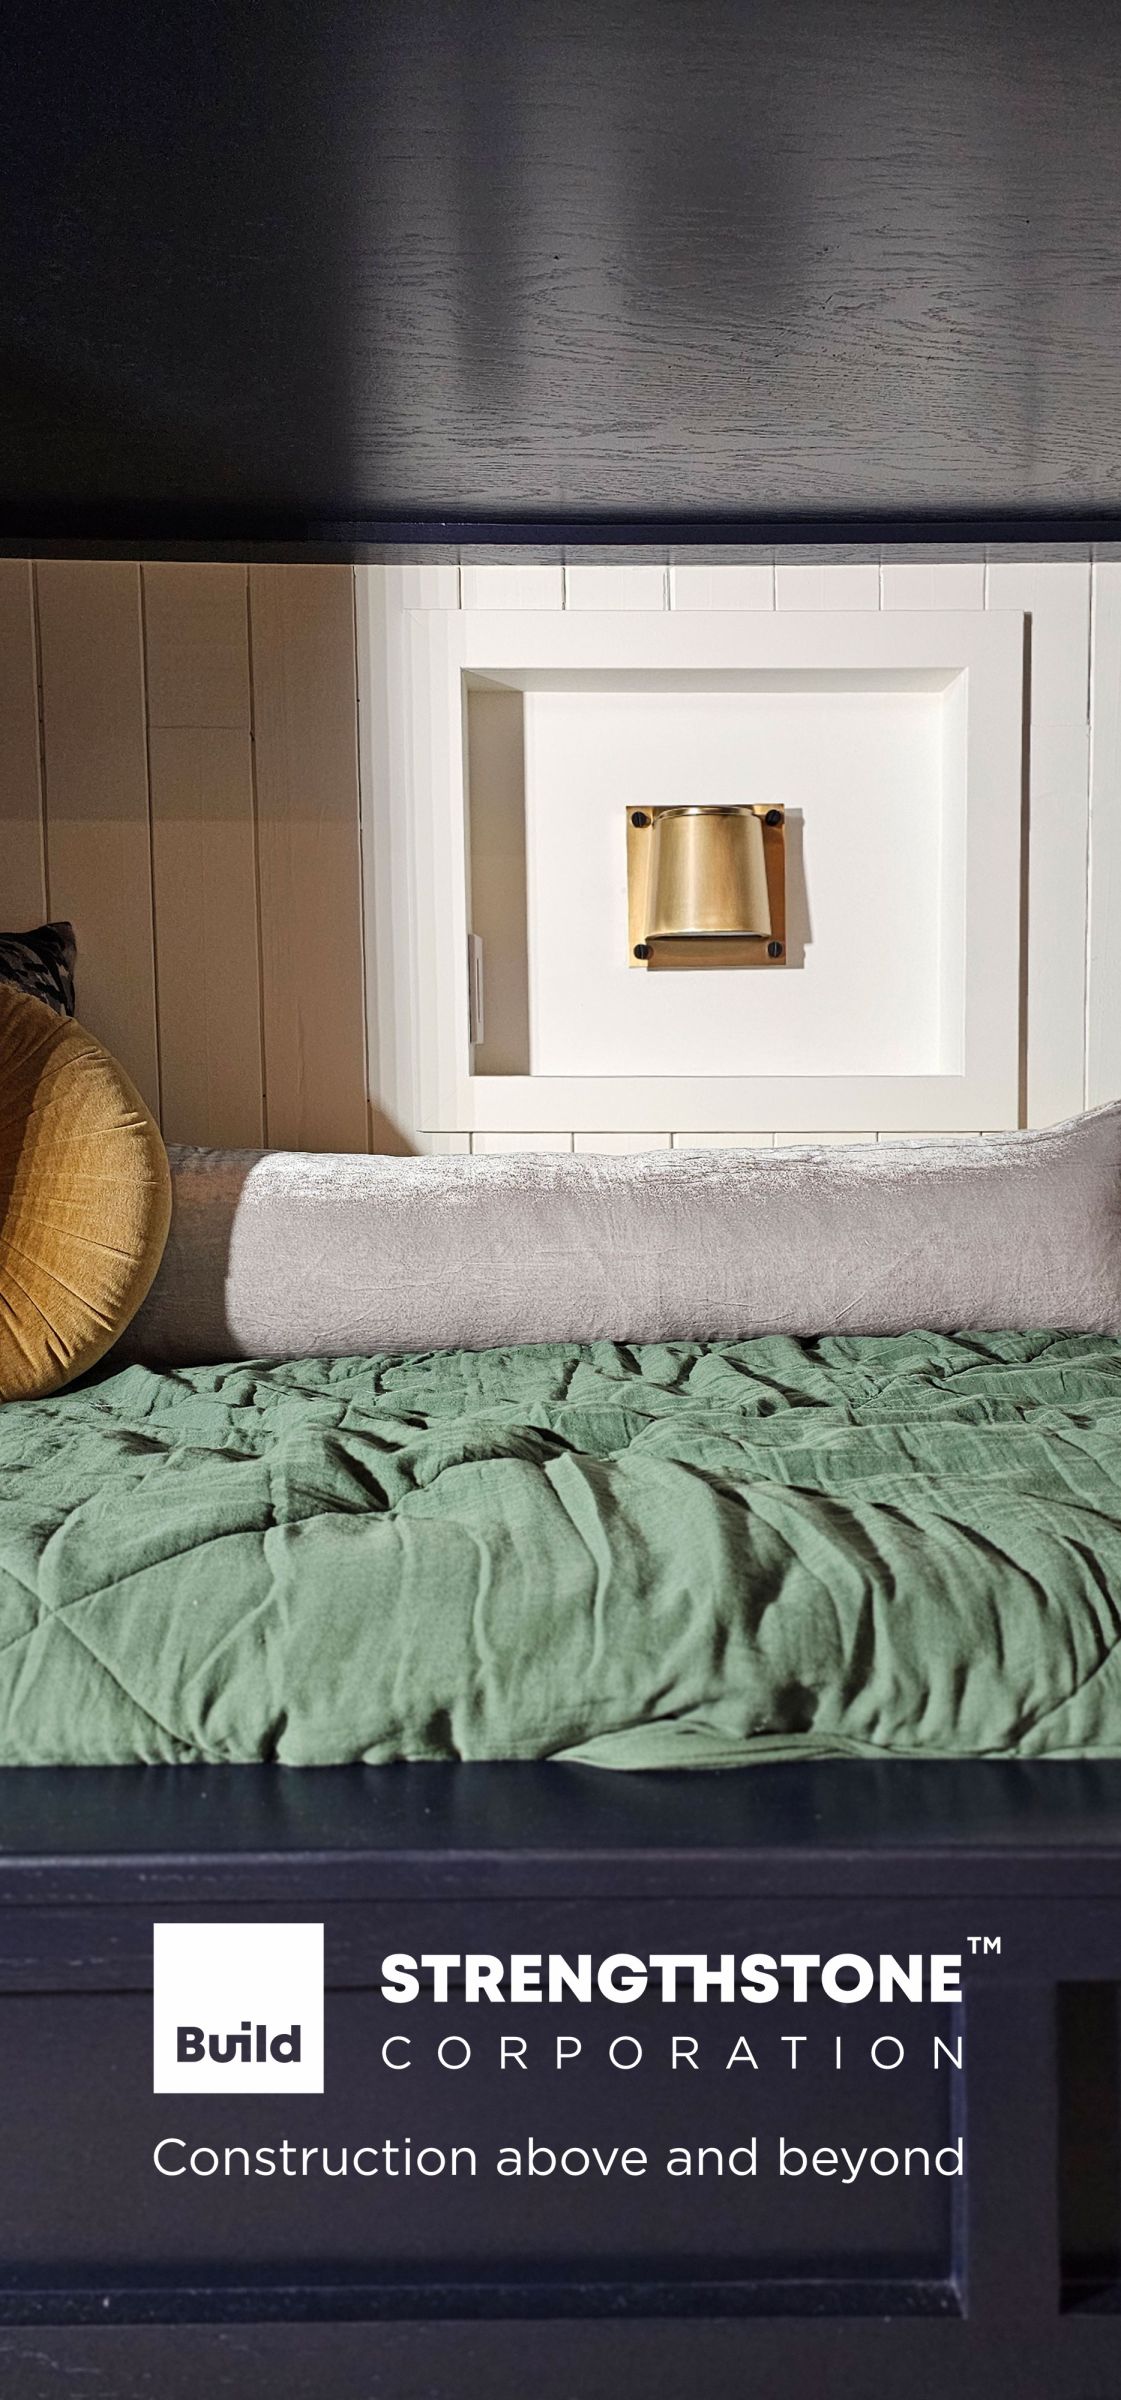
As you can see in the last above picture we stepped into action, we've made the first cuts, 6 window niches belonging to each sleep area (bed). Let's build the frame for our bunk beds. It's already beautiful, isn't it? We enjoyed the process of how everything came together. Main materials for now 2x4; 2x6; MDF core, red oak (solid wood). We were equipped with more creativity and understanding rather than tools at this step, will start using big guys later; crew size: up to 4 people, timeline as mentioned above: 4 weeks.

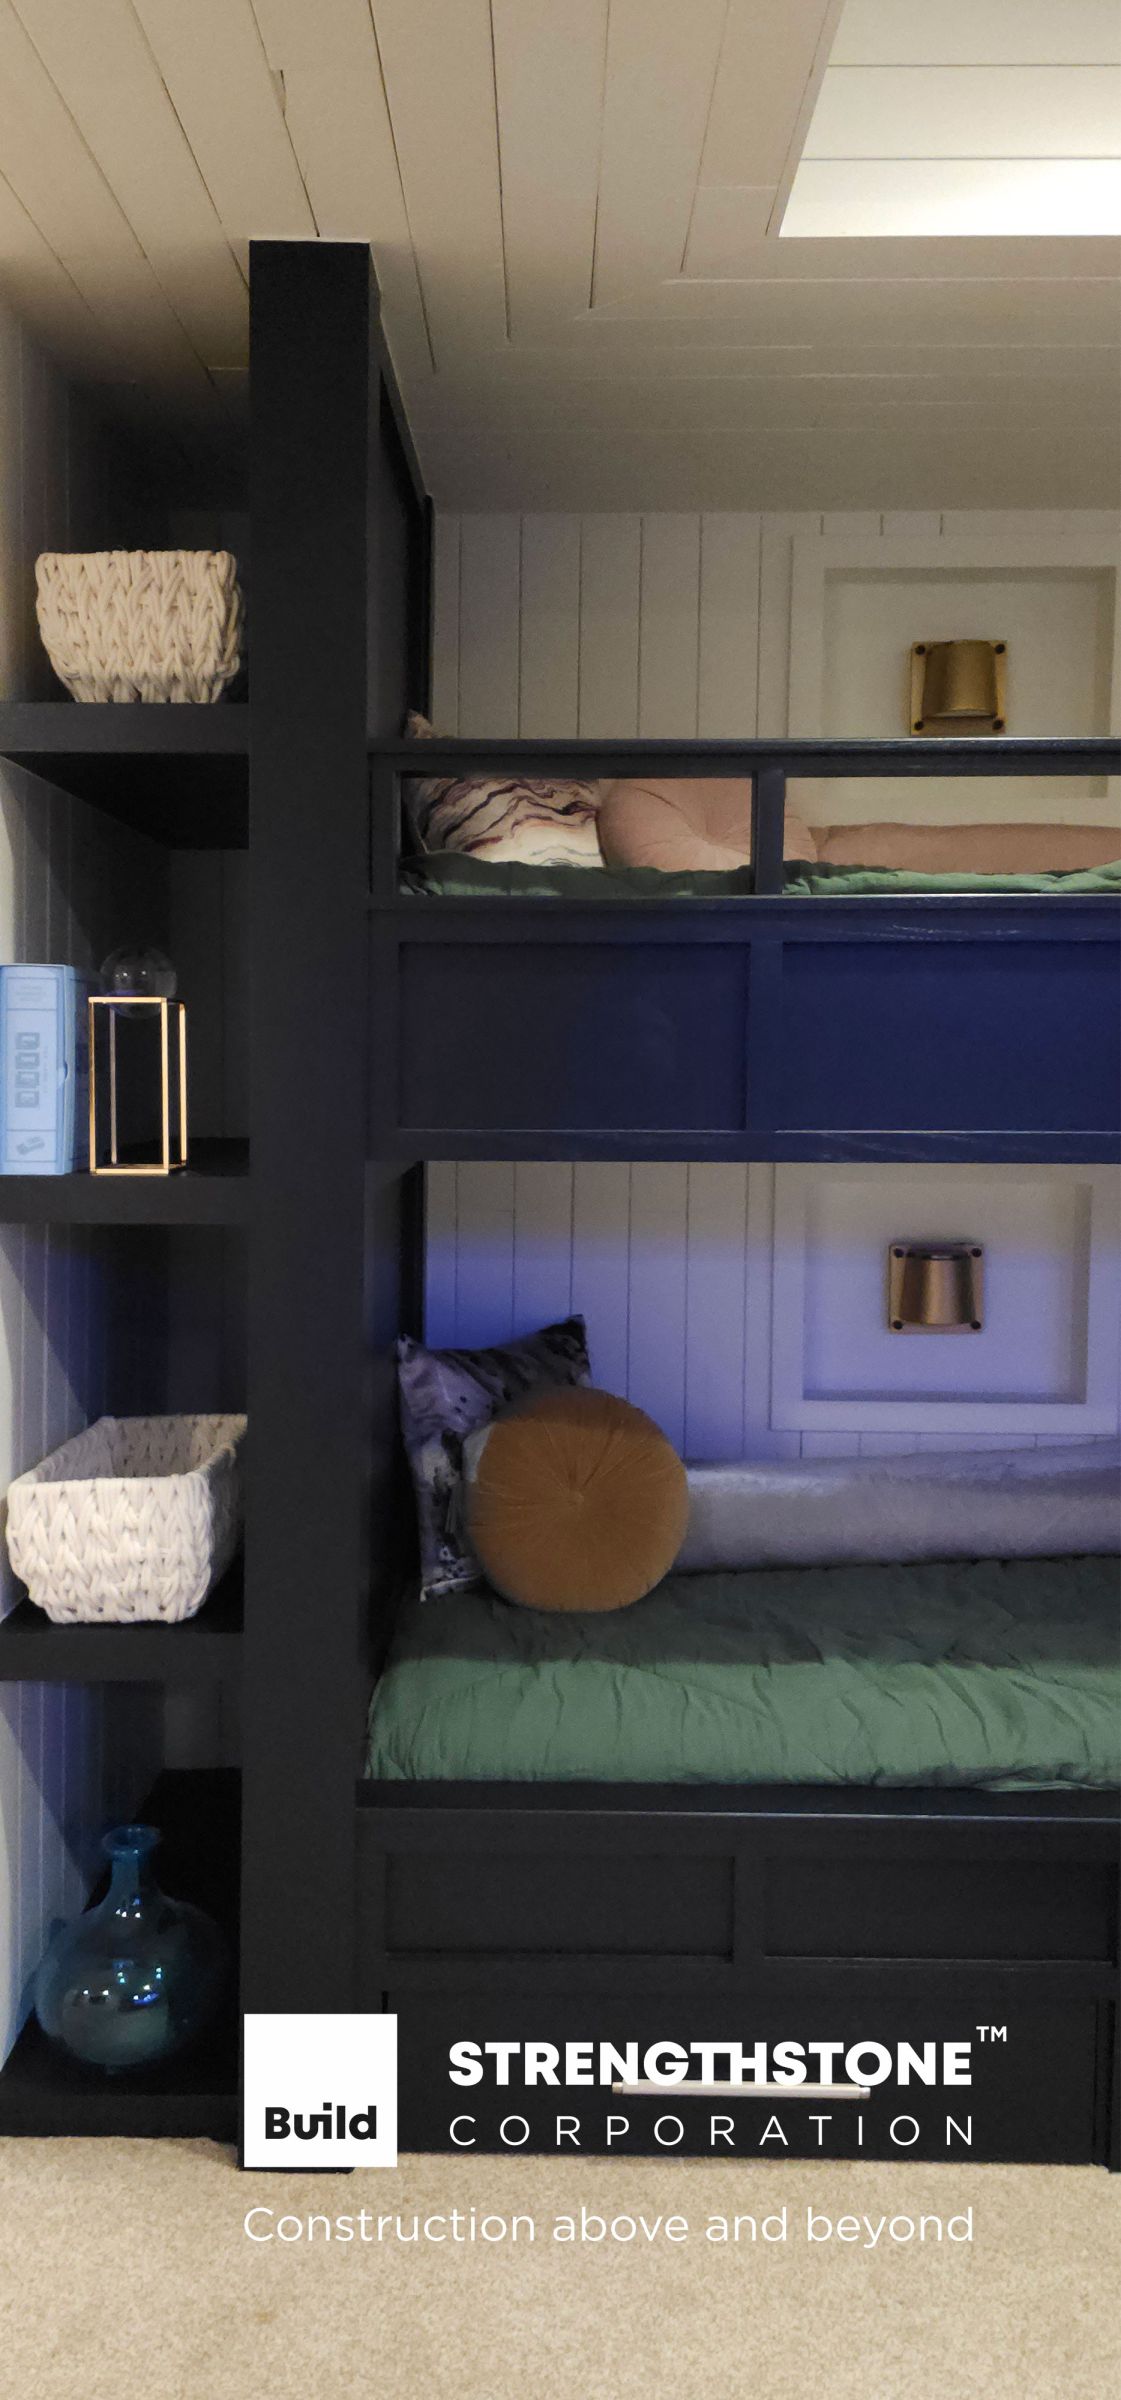
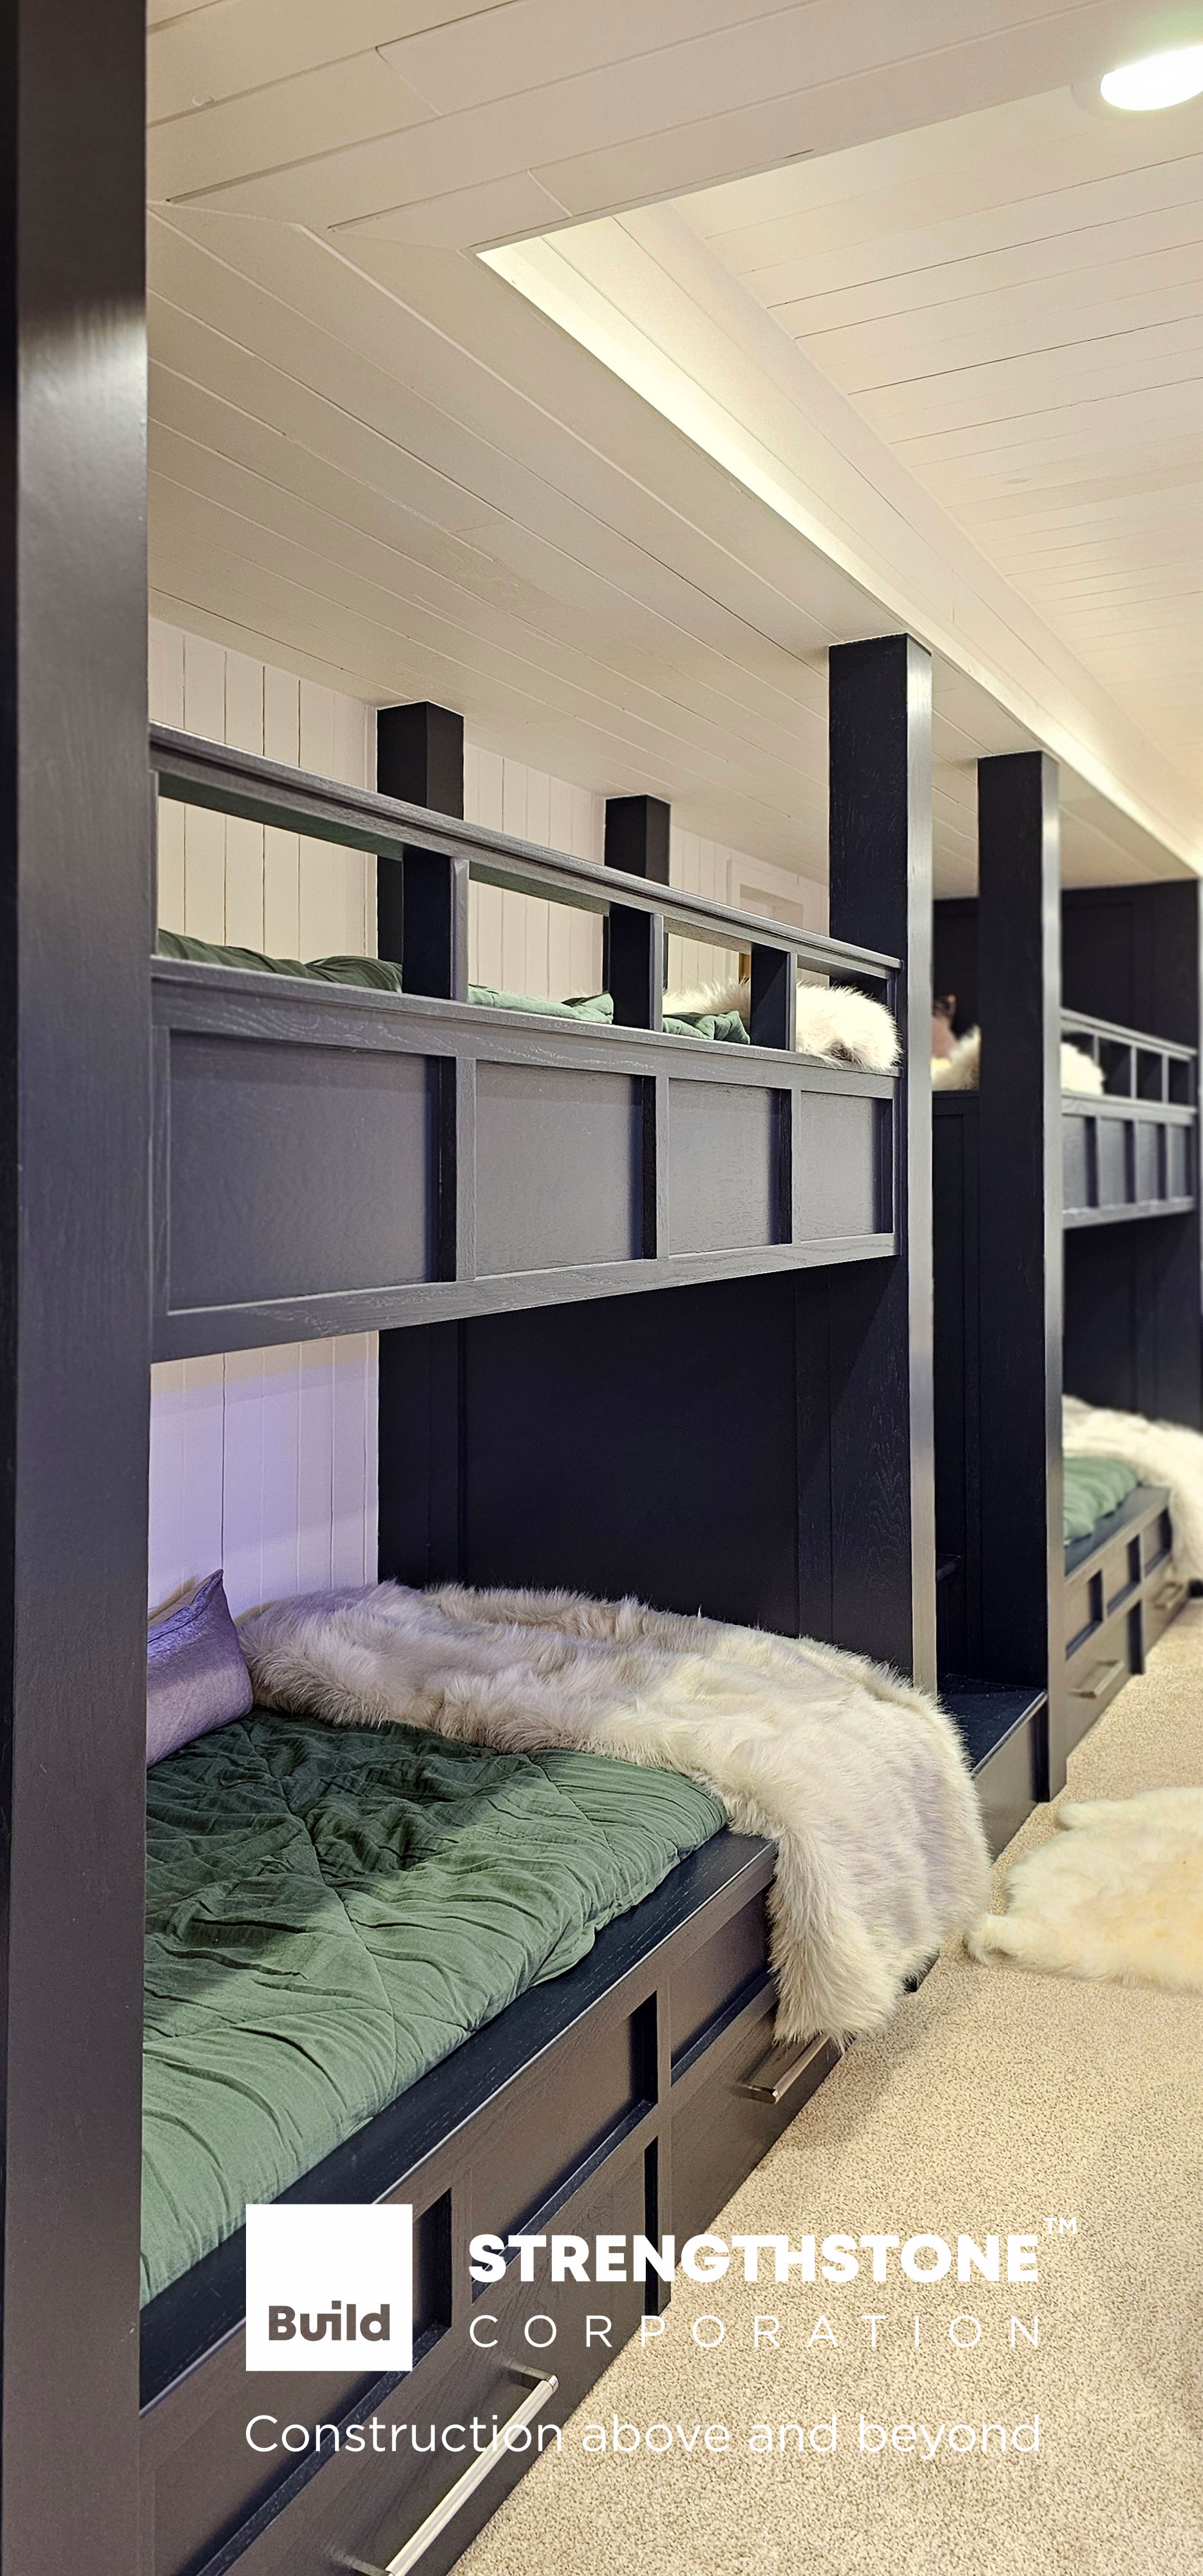
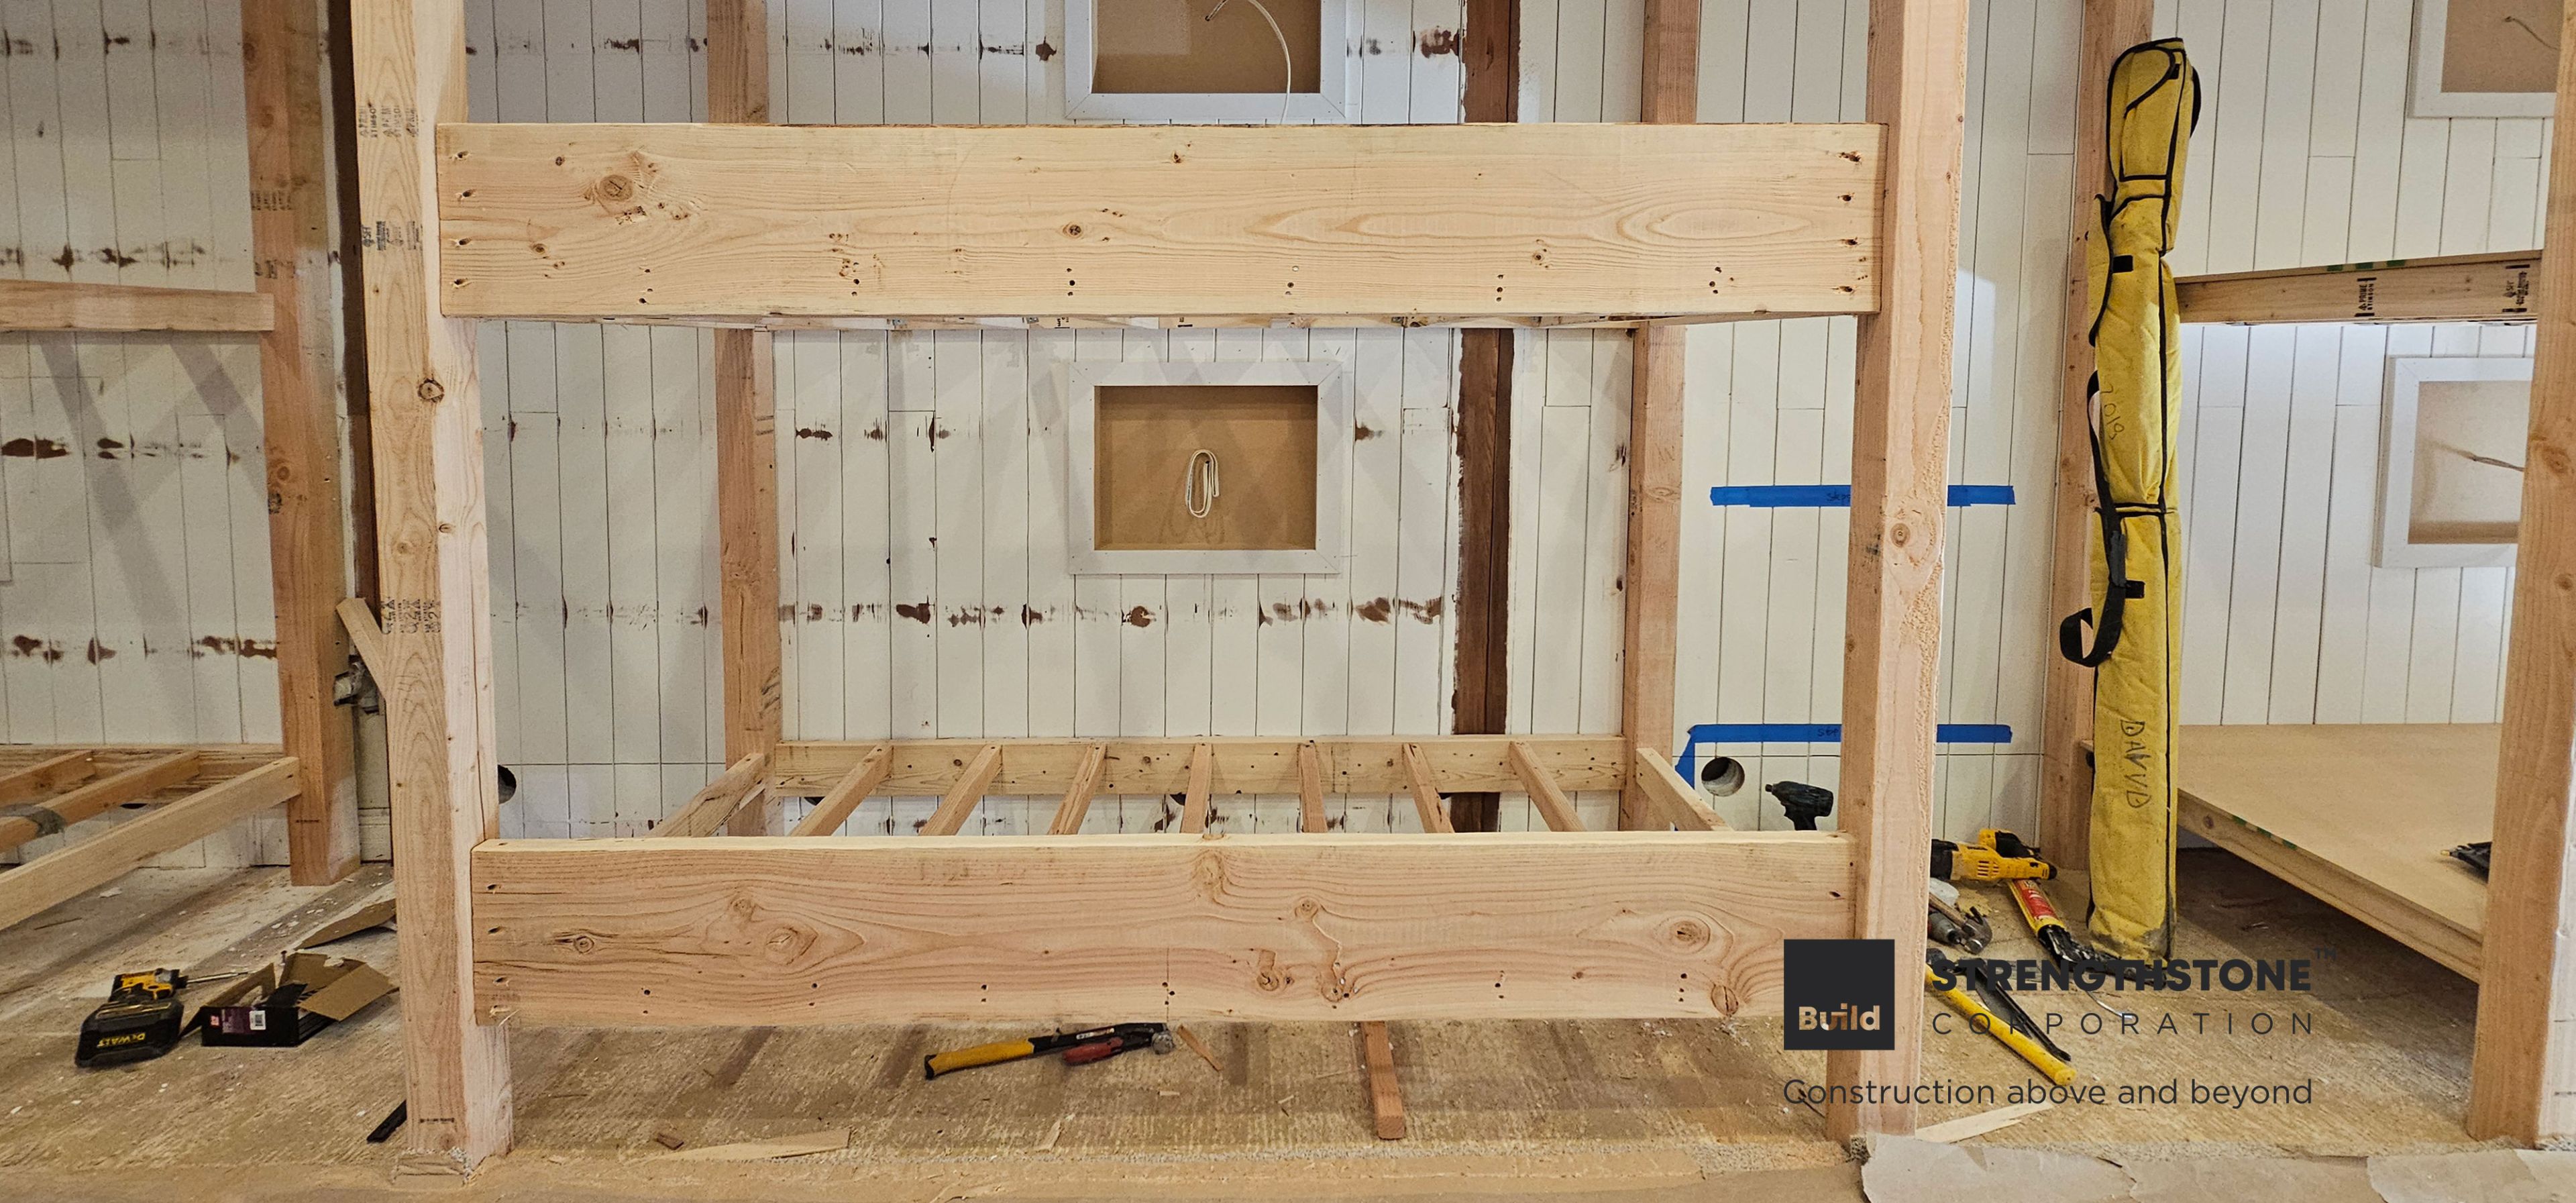
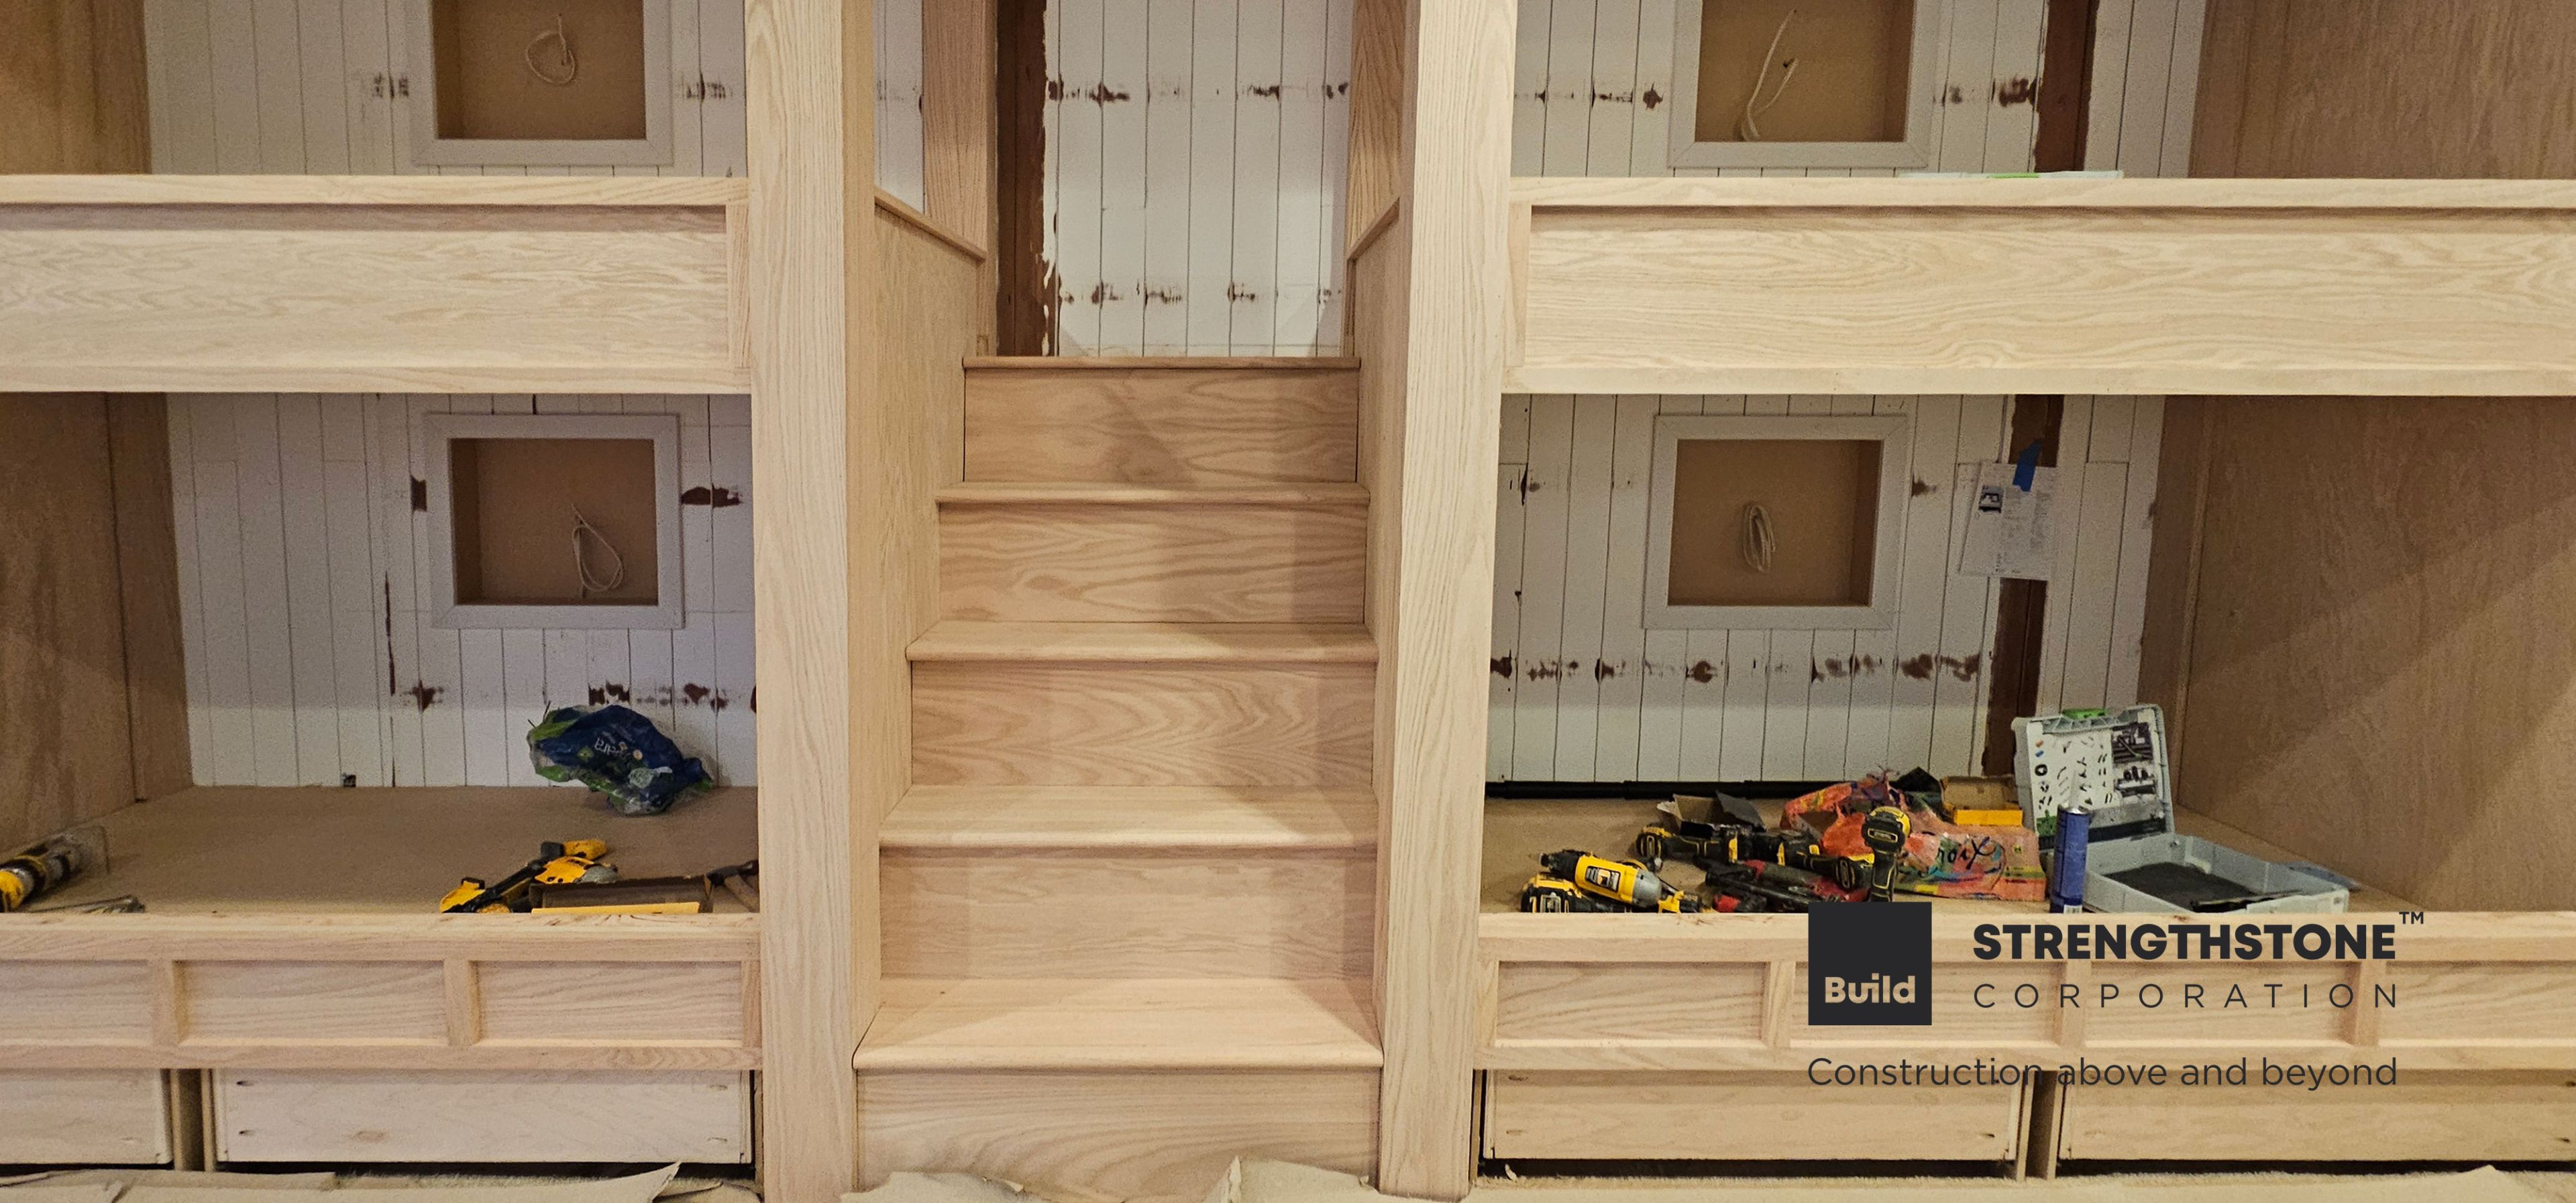
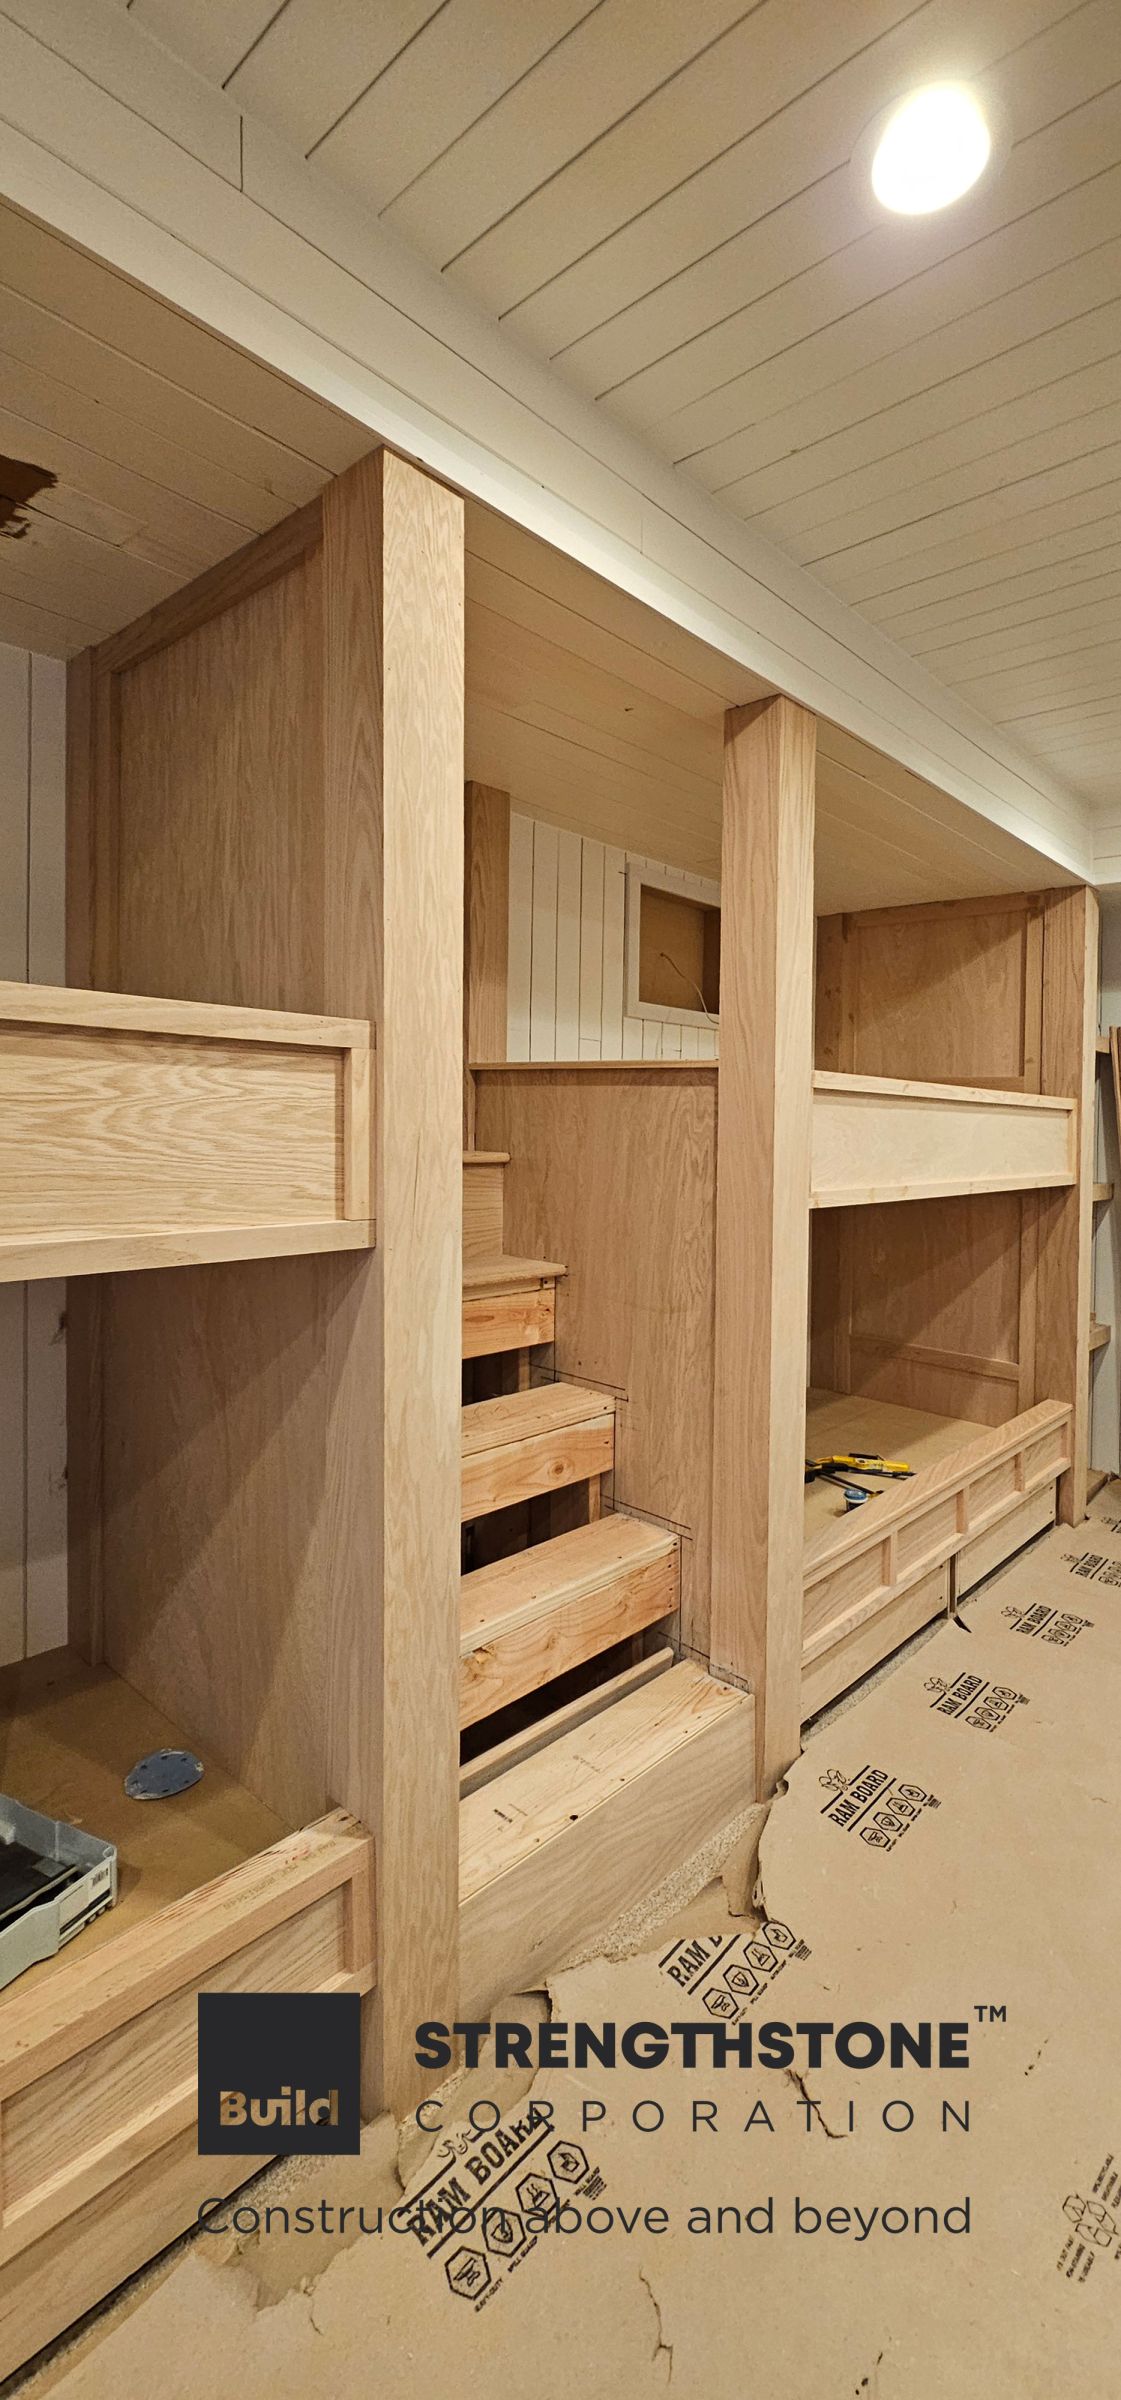
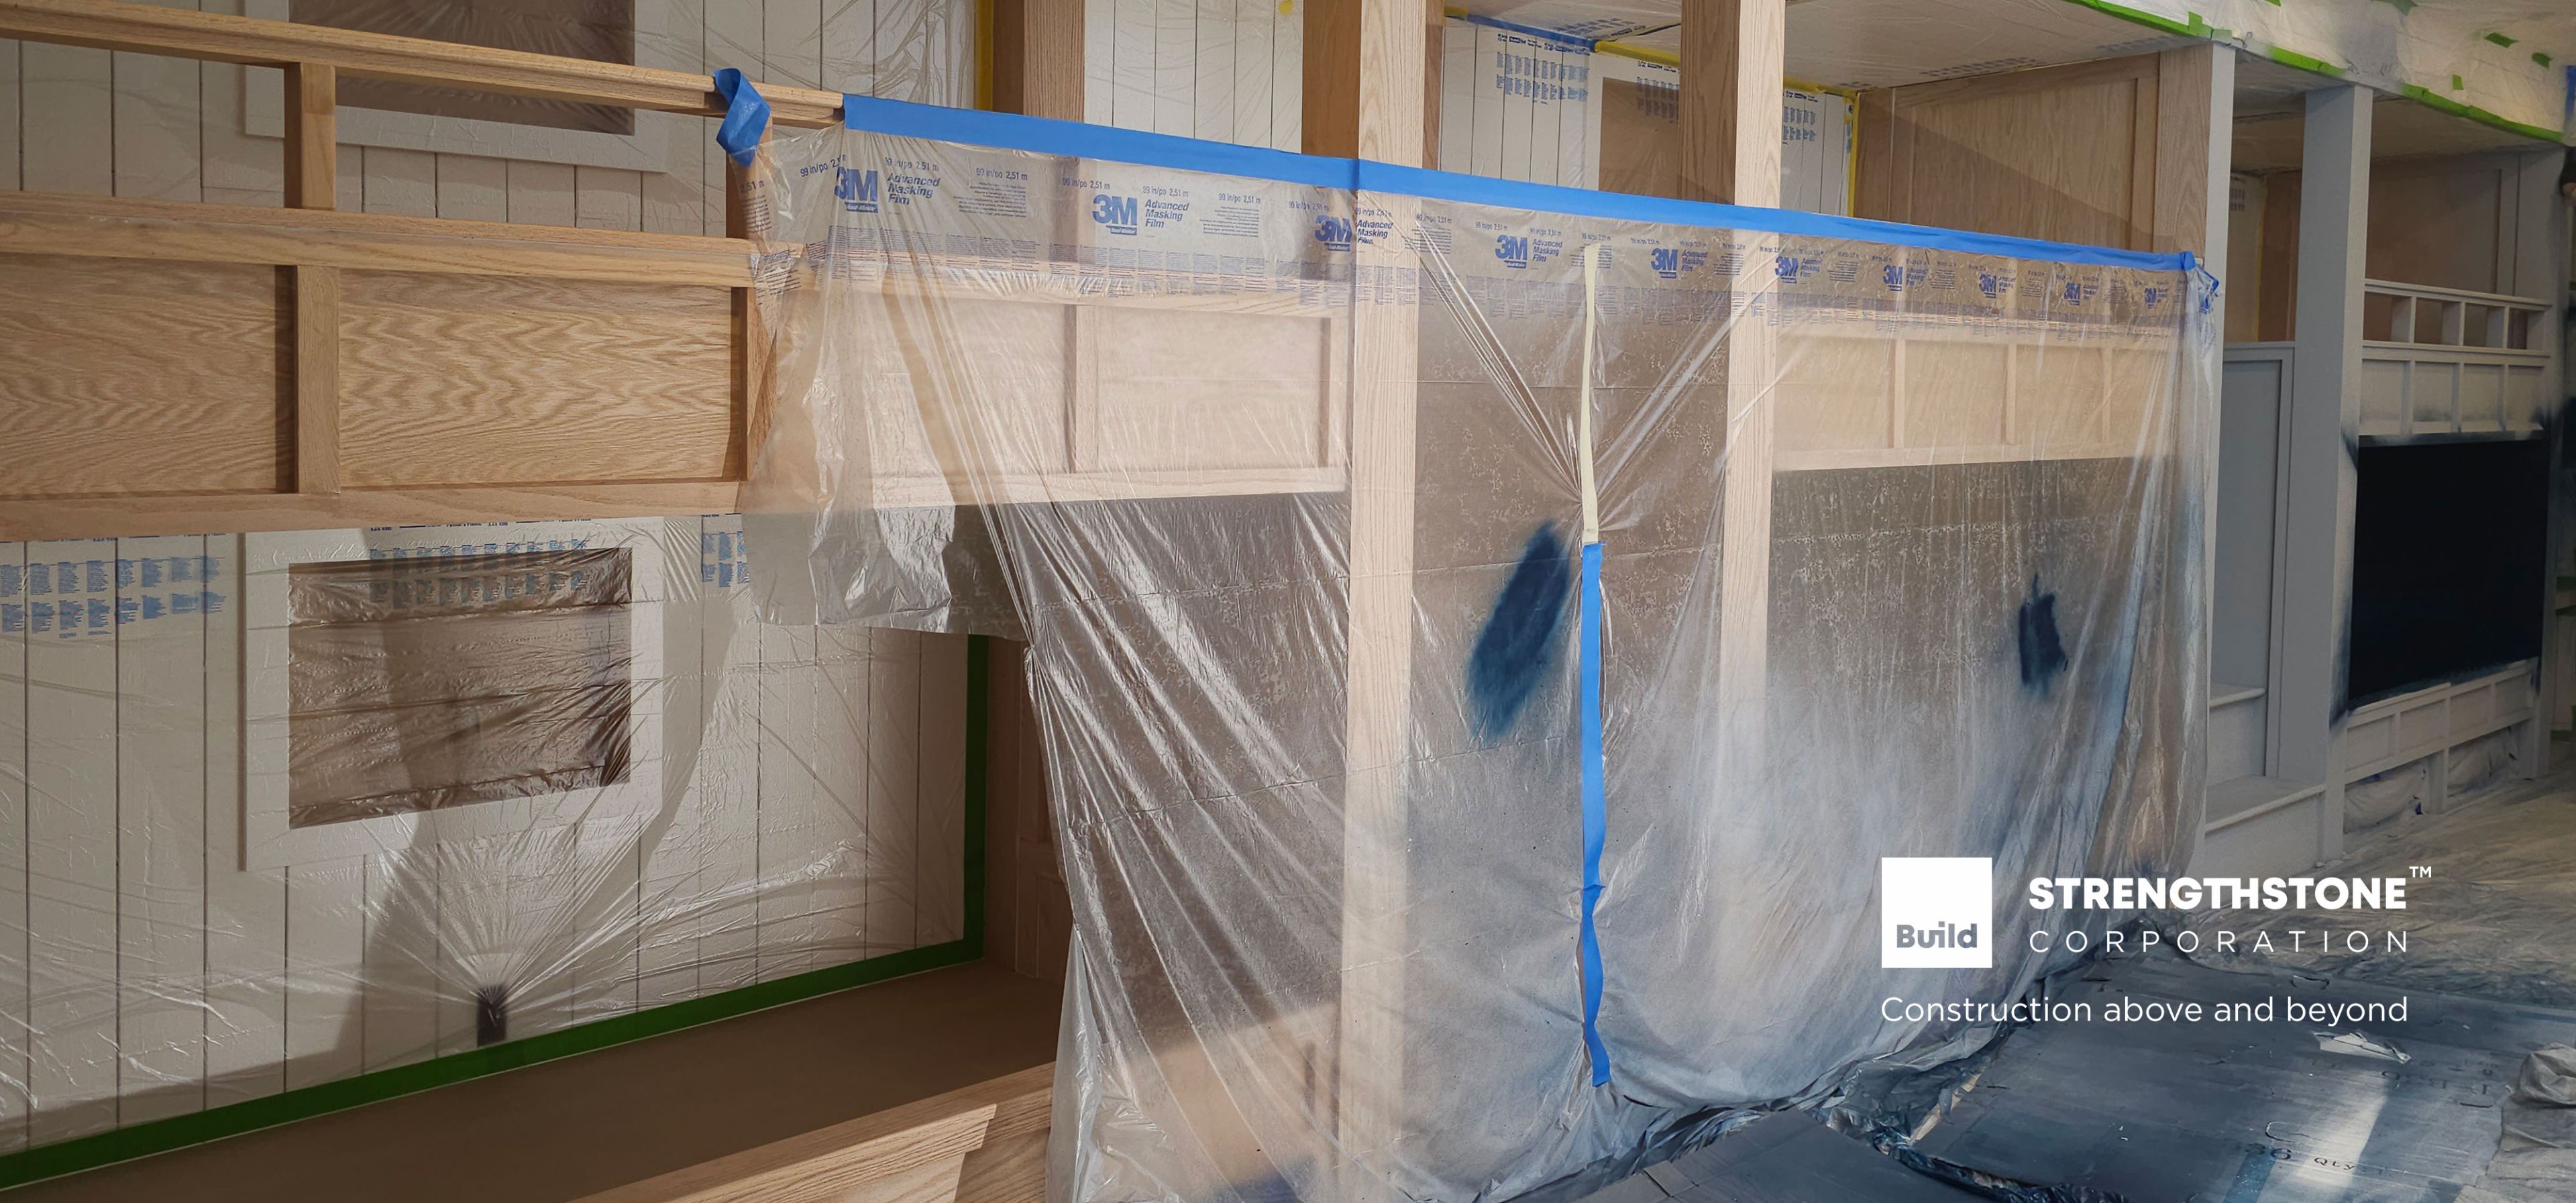
At this point we framed the beds, 2 staircase in the middle of them, and a shelving / storage area on each side. Also, we framed and fished the power for all 6 windows niches. Shapes are bold, edges sharp. We begin to have the complete picture of our project. Primer and painting step. below as follows.
.jpg)
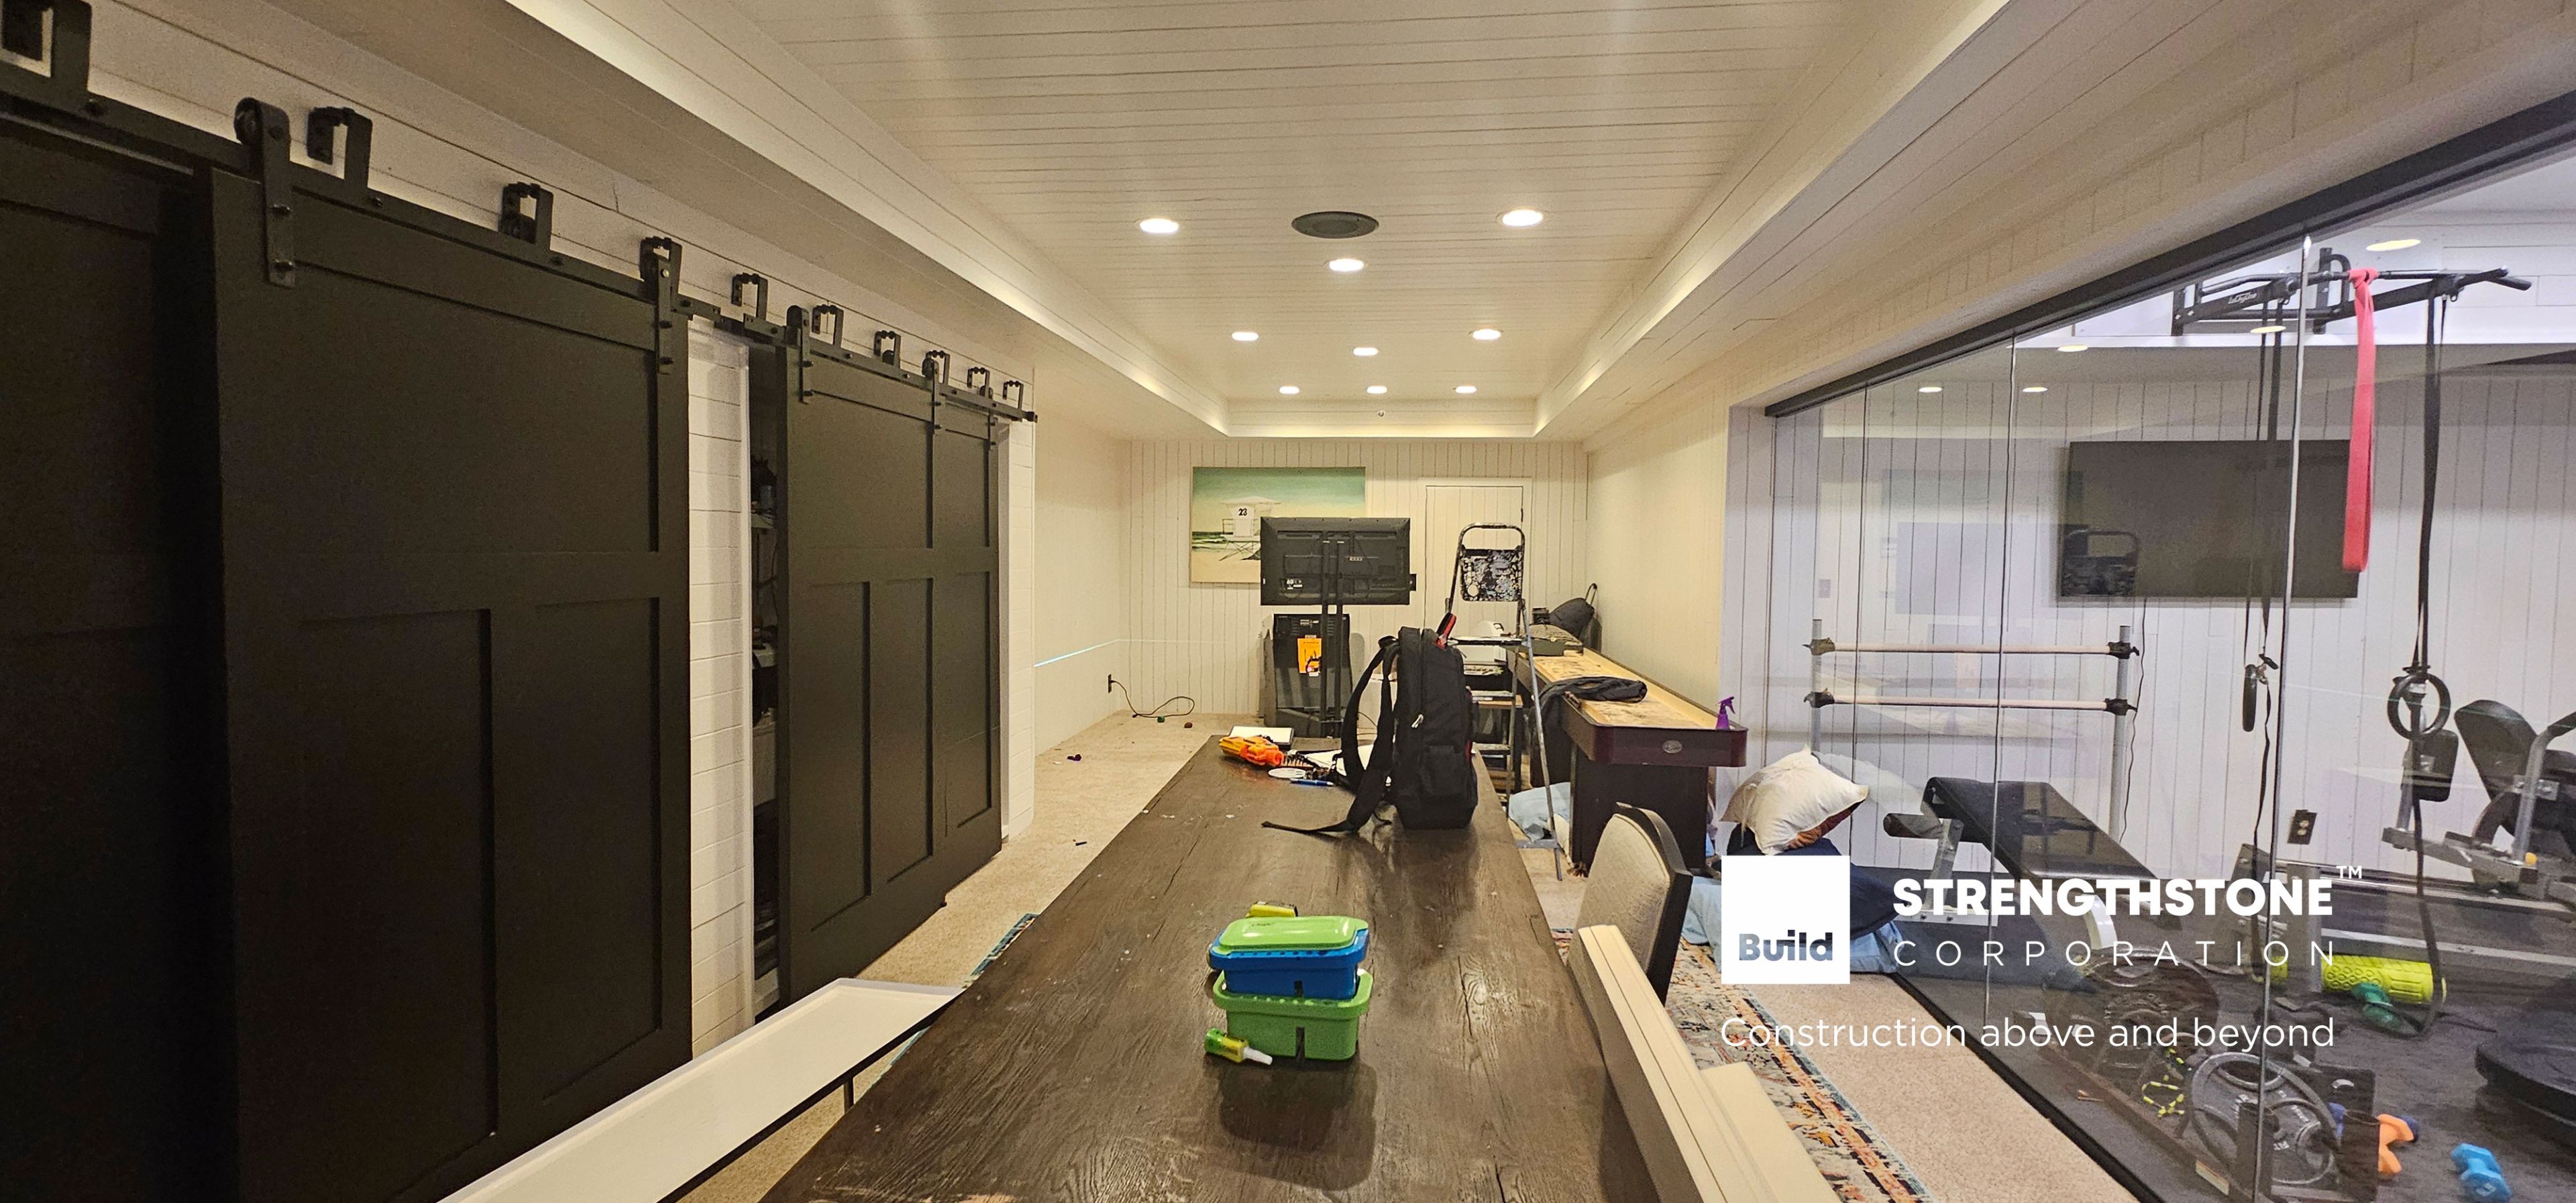
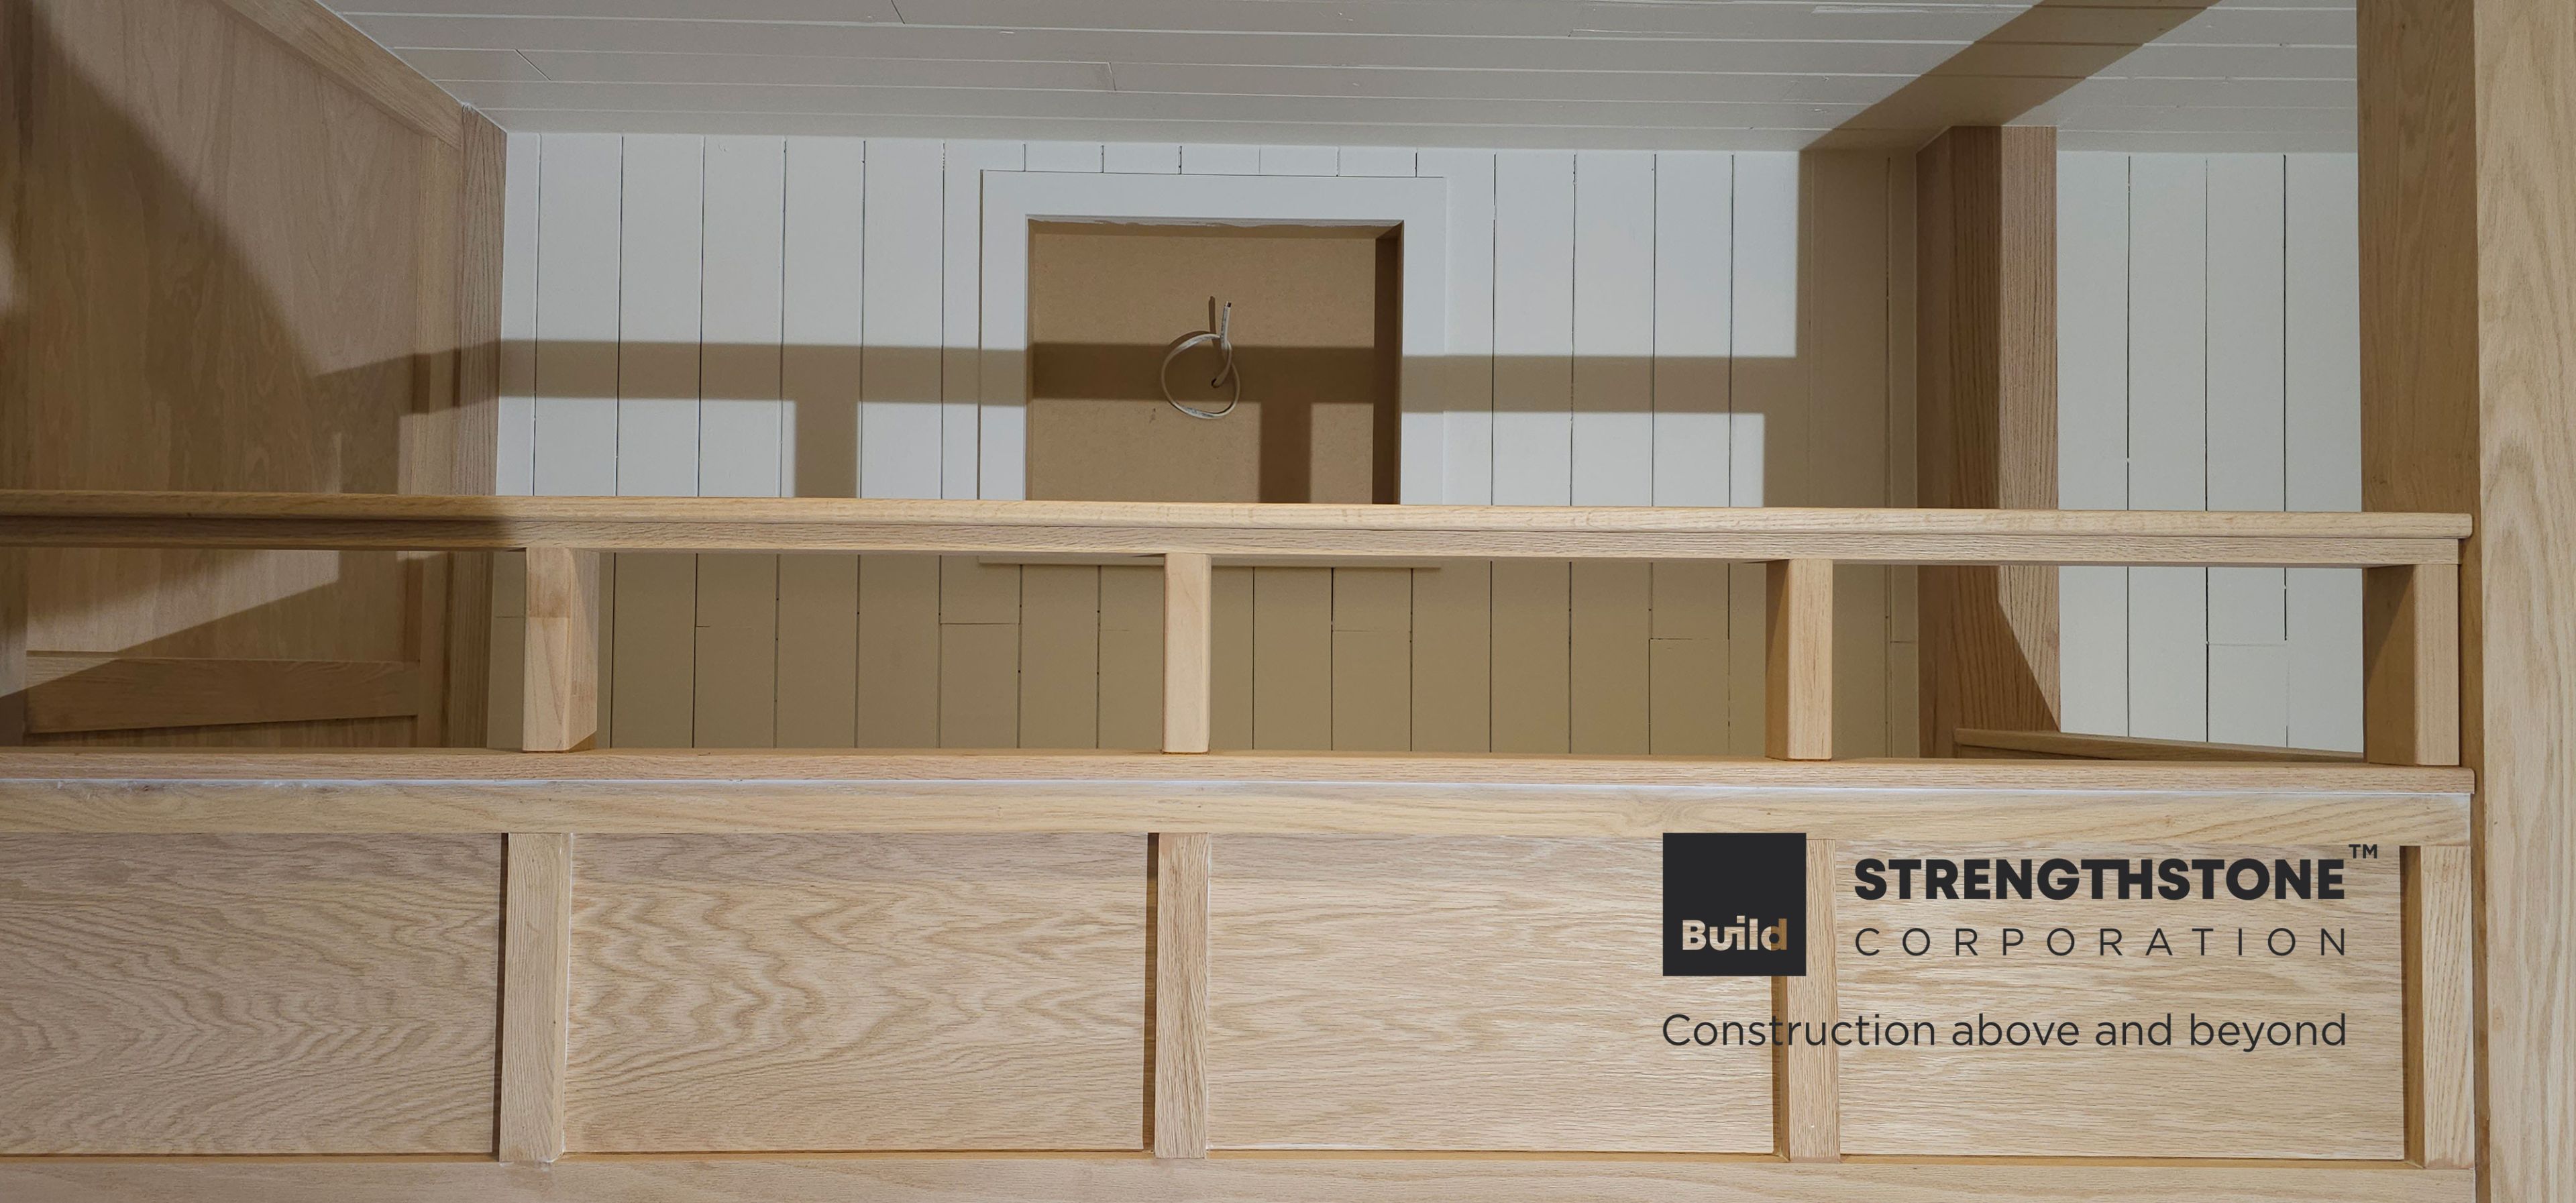
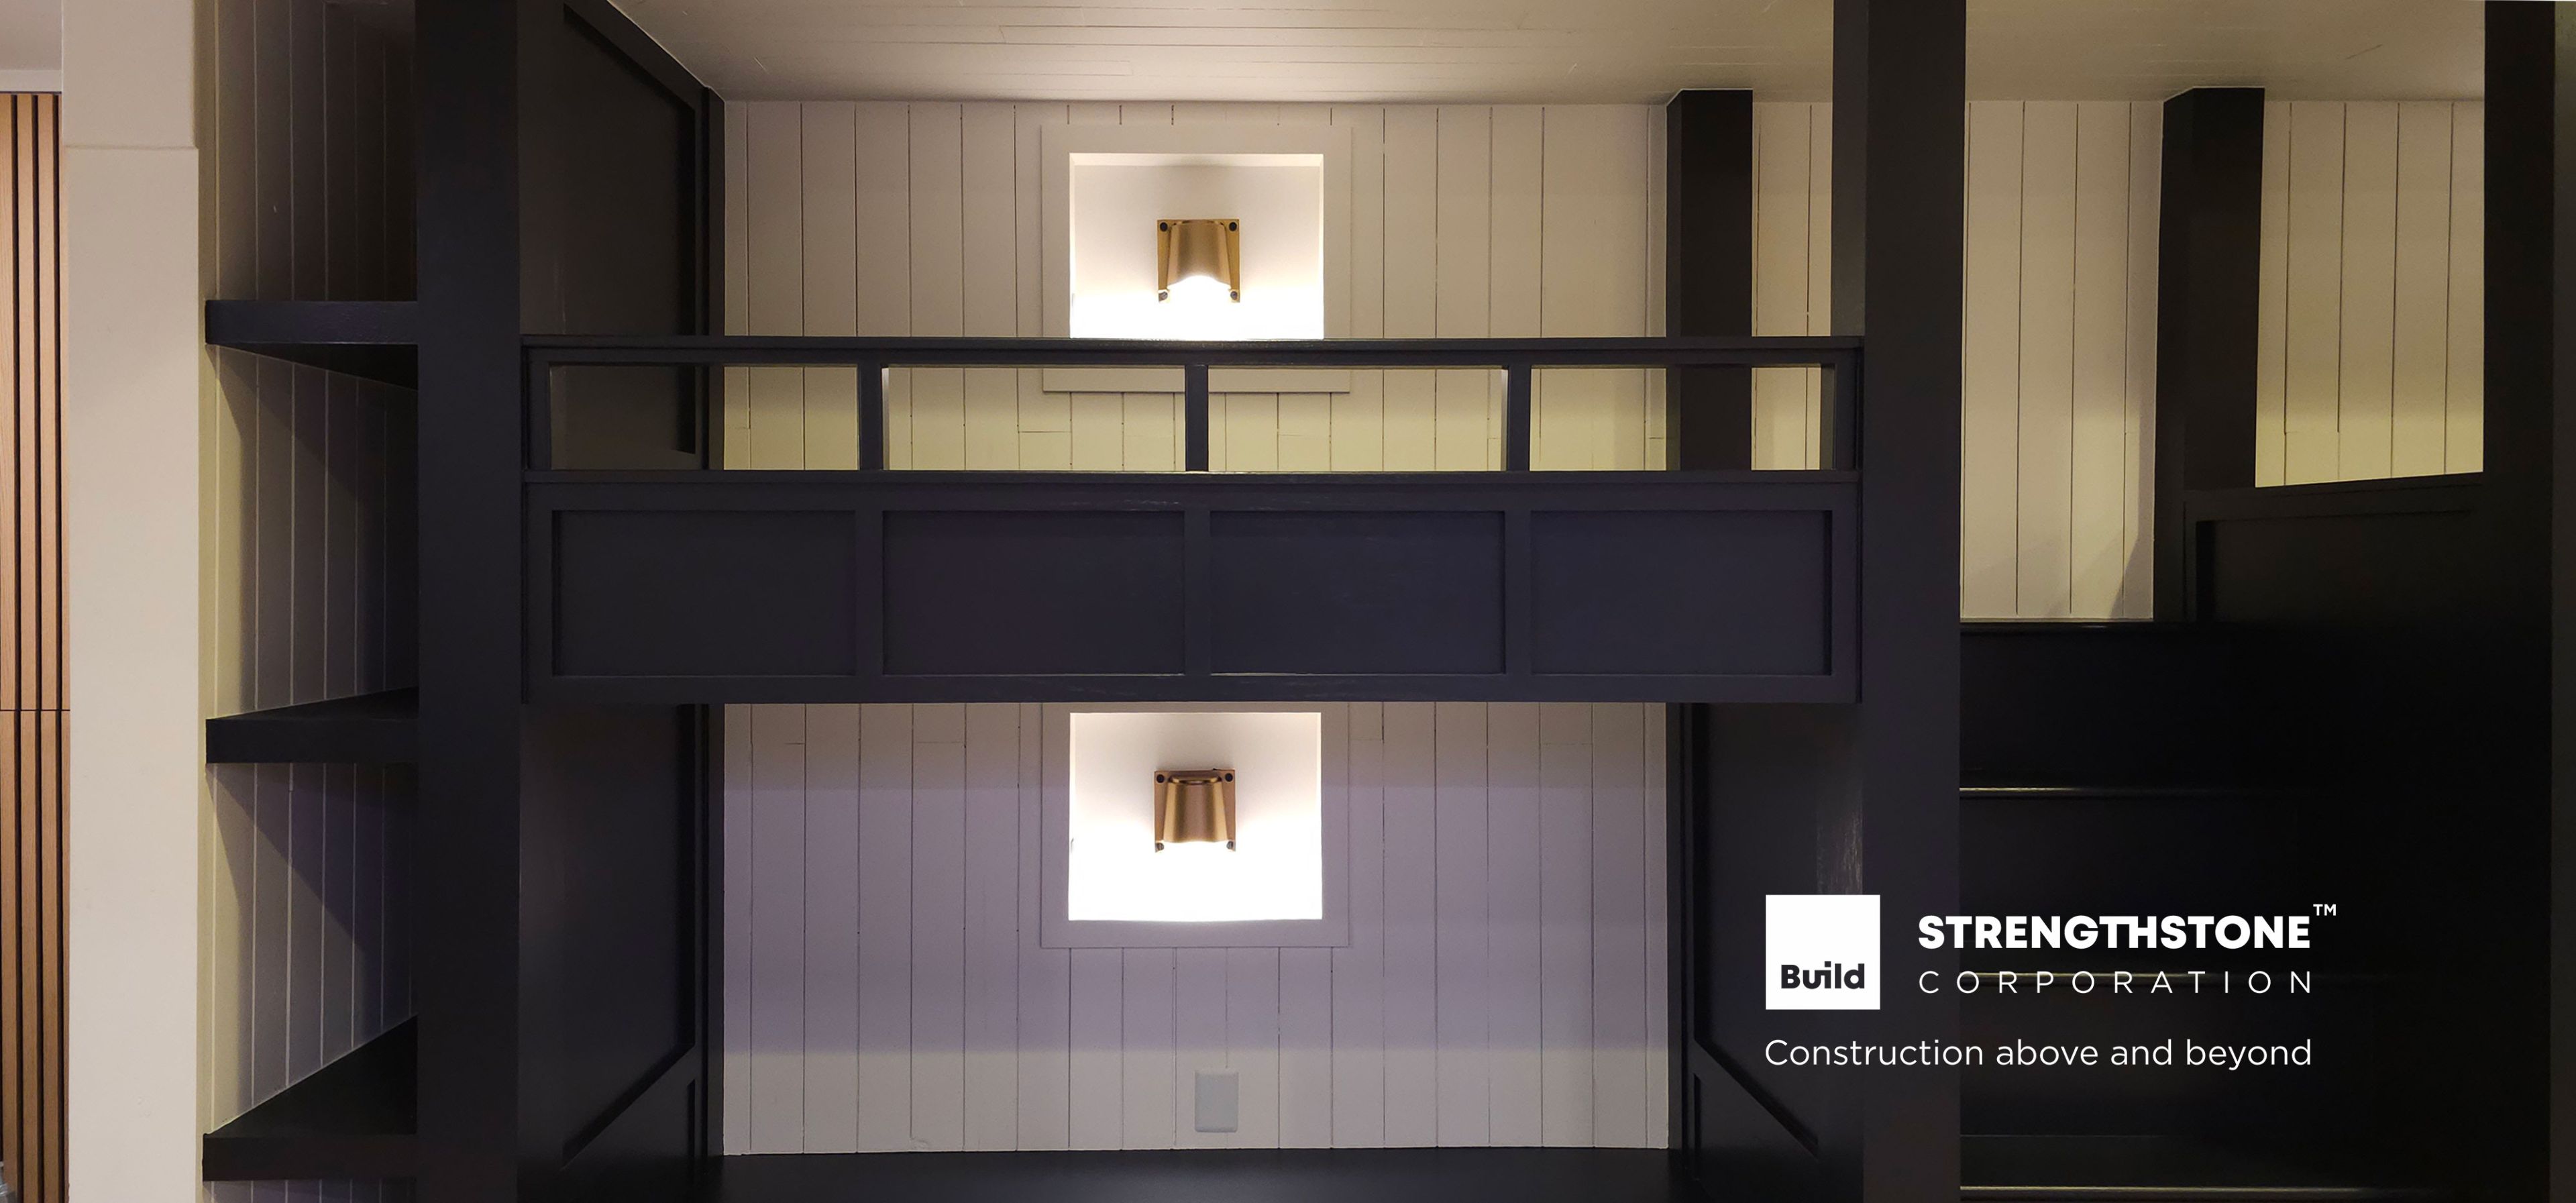
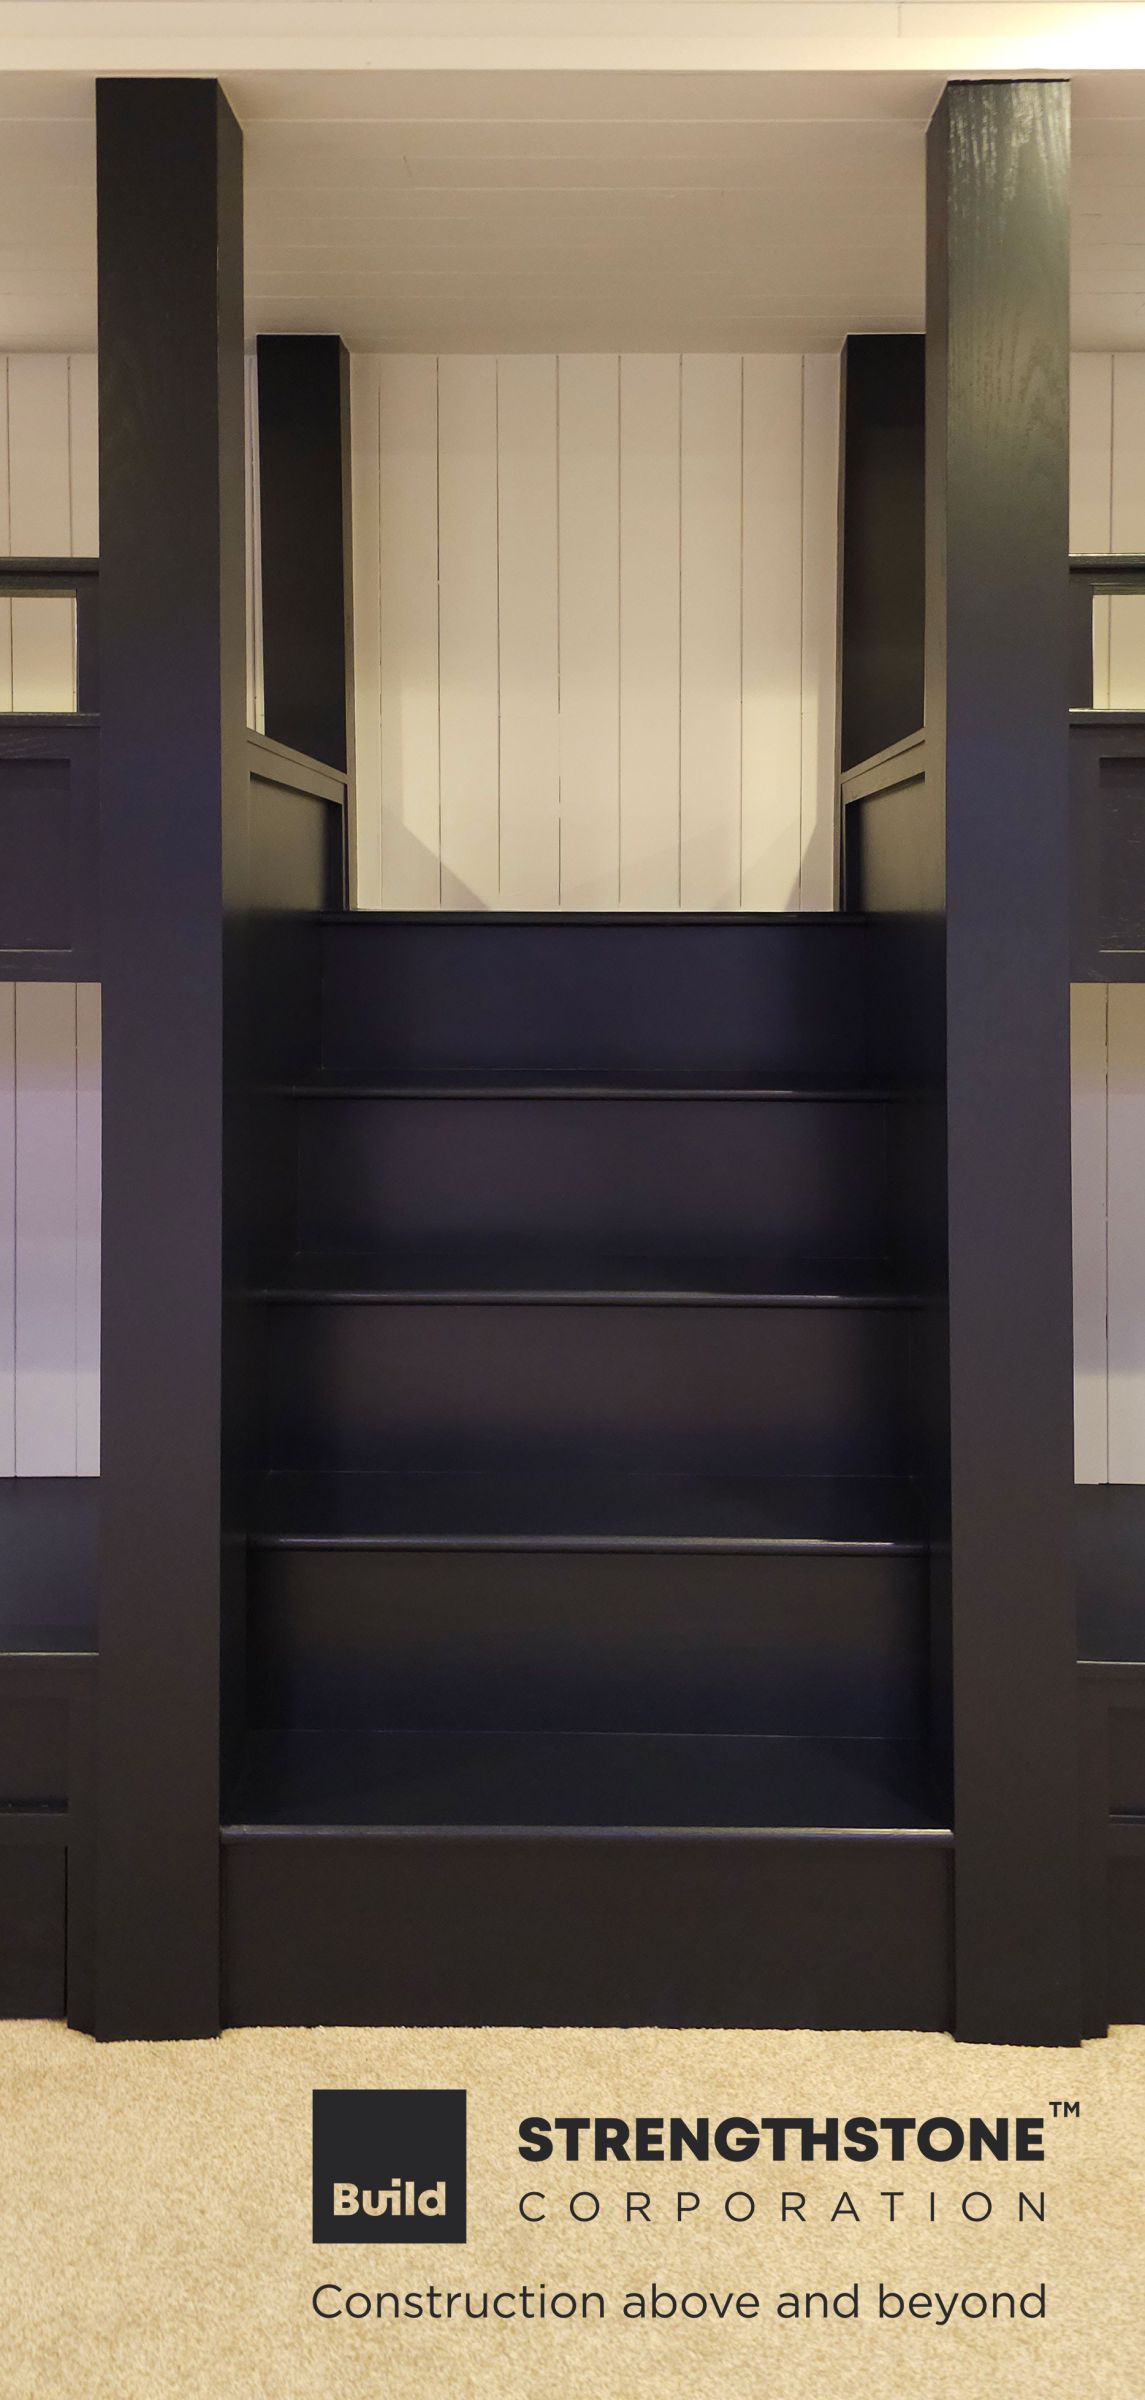
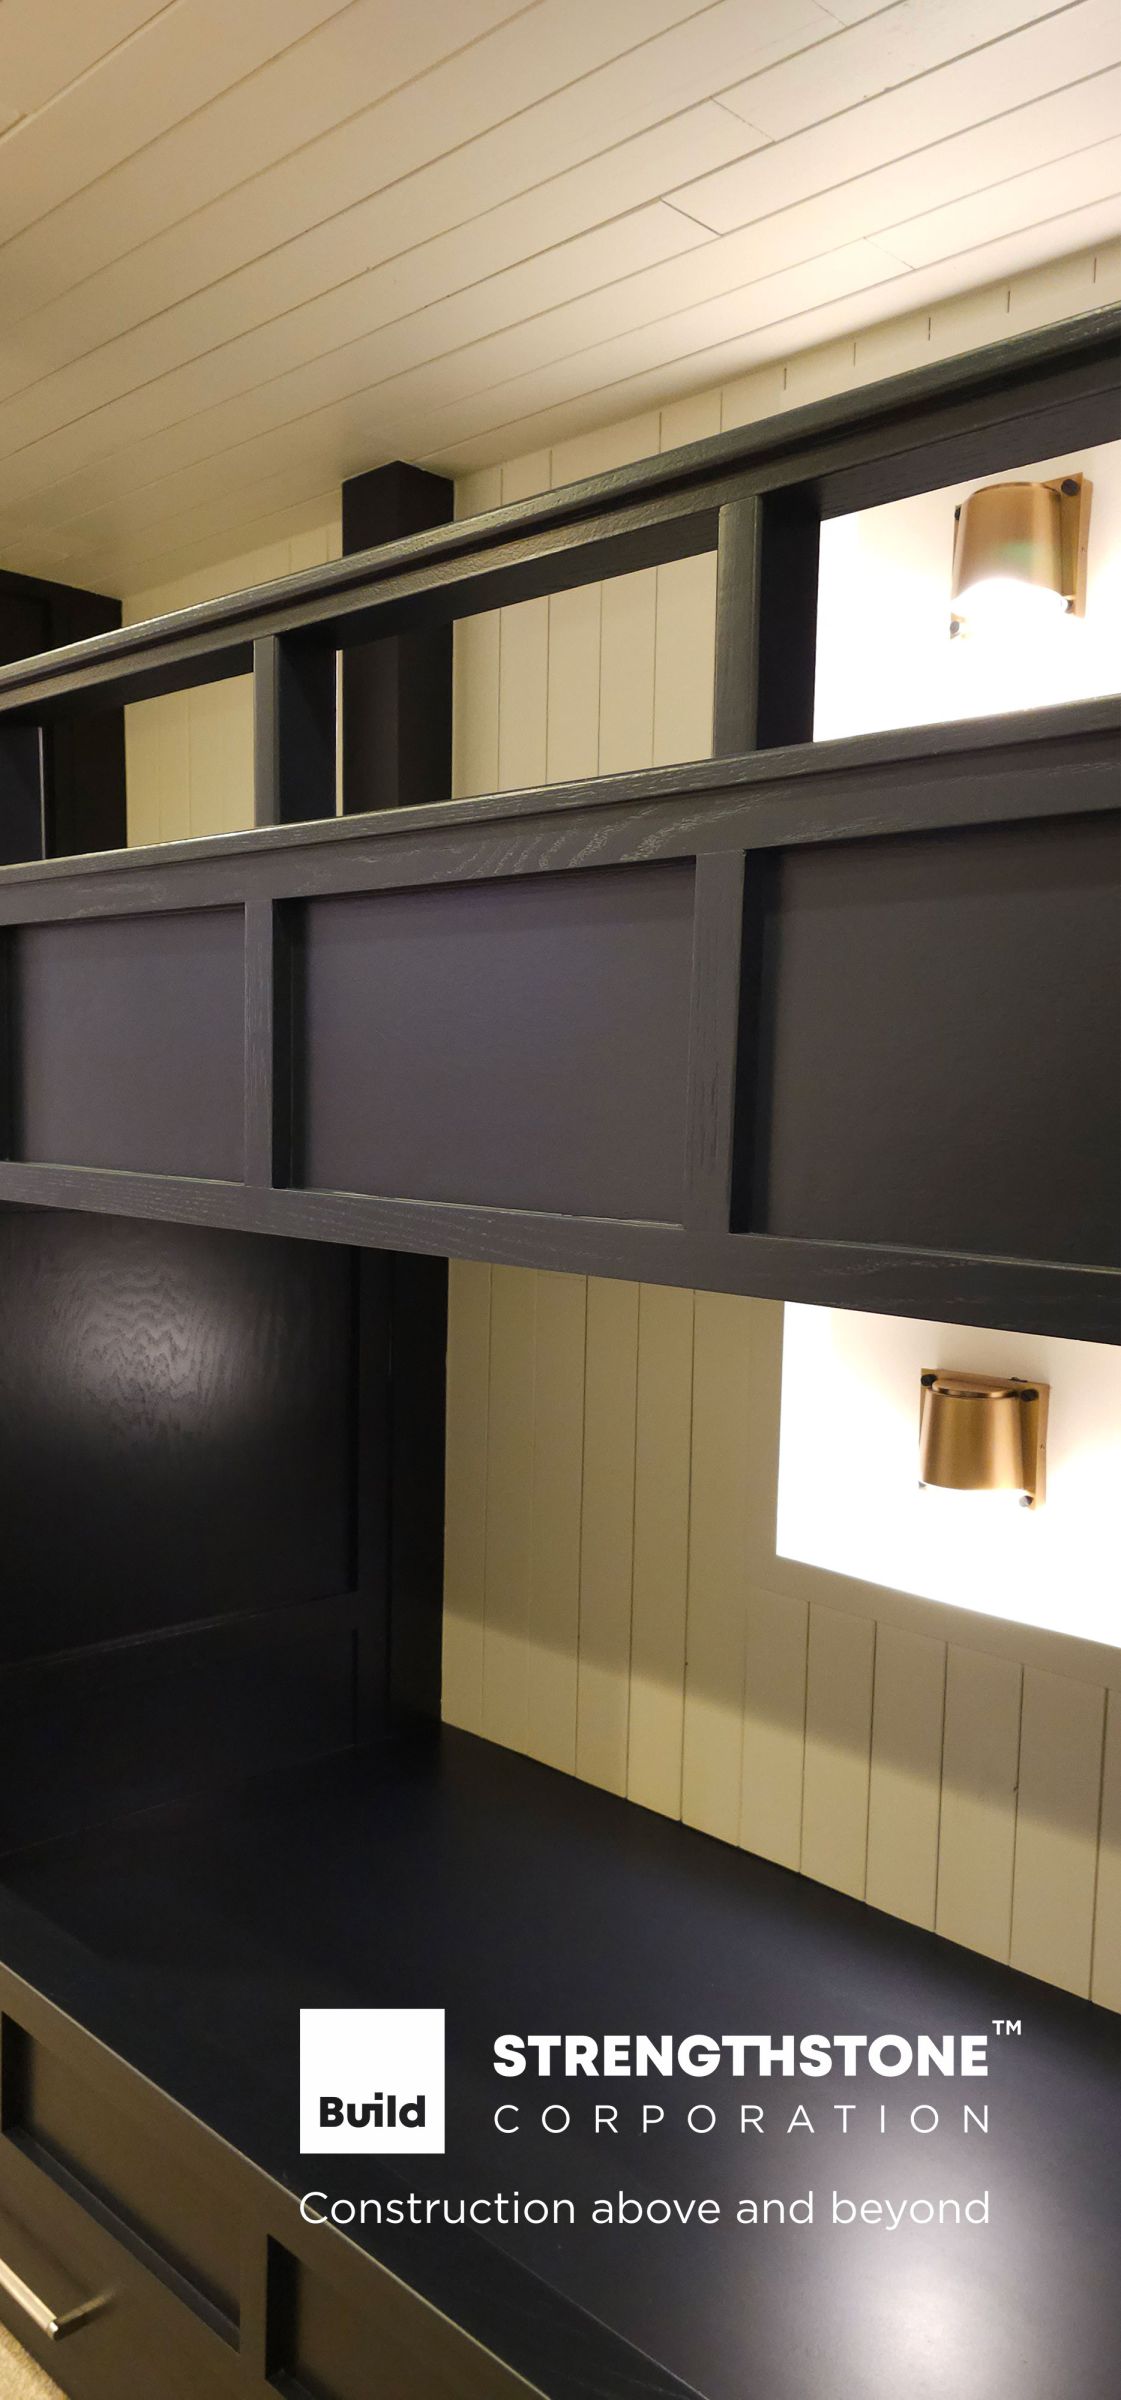
Enjoy the final steps and final touches.
.jpg)
.jpg)
.jpg)
.jpg)

.jpg)
.jpg)